"To live in the world without becoming aware of the meaning of the world is like wandering about in a great library without touching the books.".....The Secret Teachings of All Ages

"Neither aesthetics nor money-spent make a good studio-it's what you make inside it that really counts"...Shanna Van Maurice, artist.


Showing posts with label appliqué. Show all posts

Wednesday, December 20, 2023

Butterfly on Bone Vest Part 2

This is the more boring part of getting ready to appliqué the bone fabric onto the vest. I need to practice free stitching, which as stated in part one, I have never done. Today was prep day.

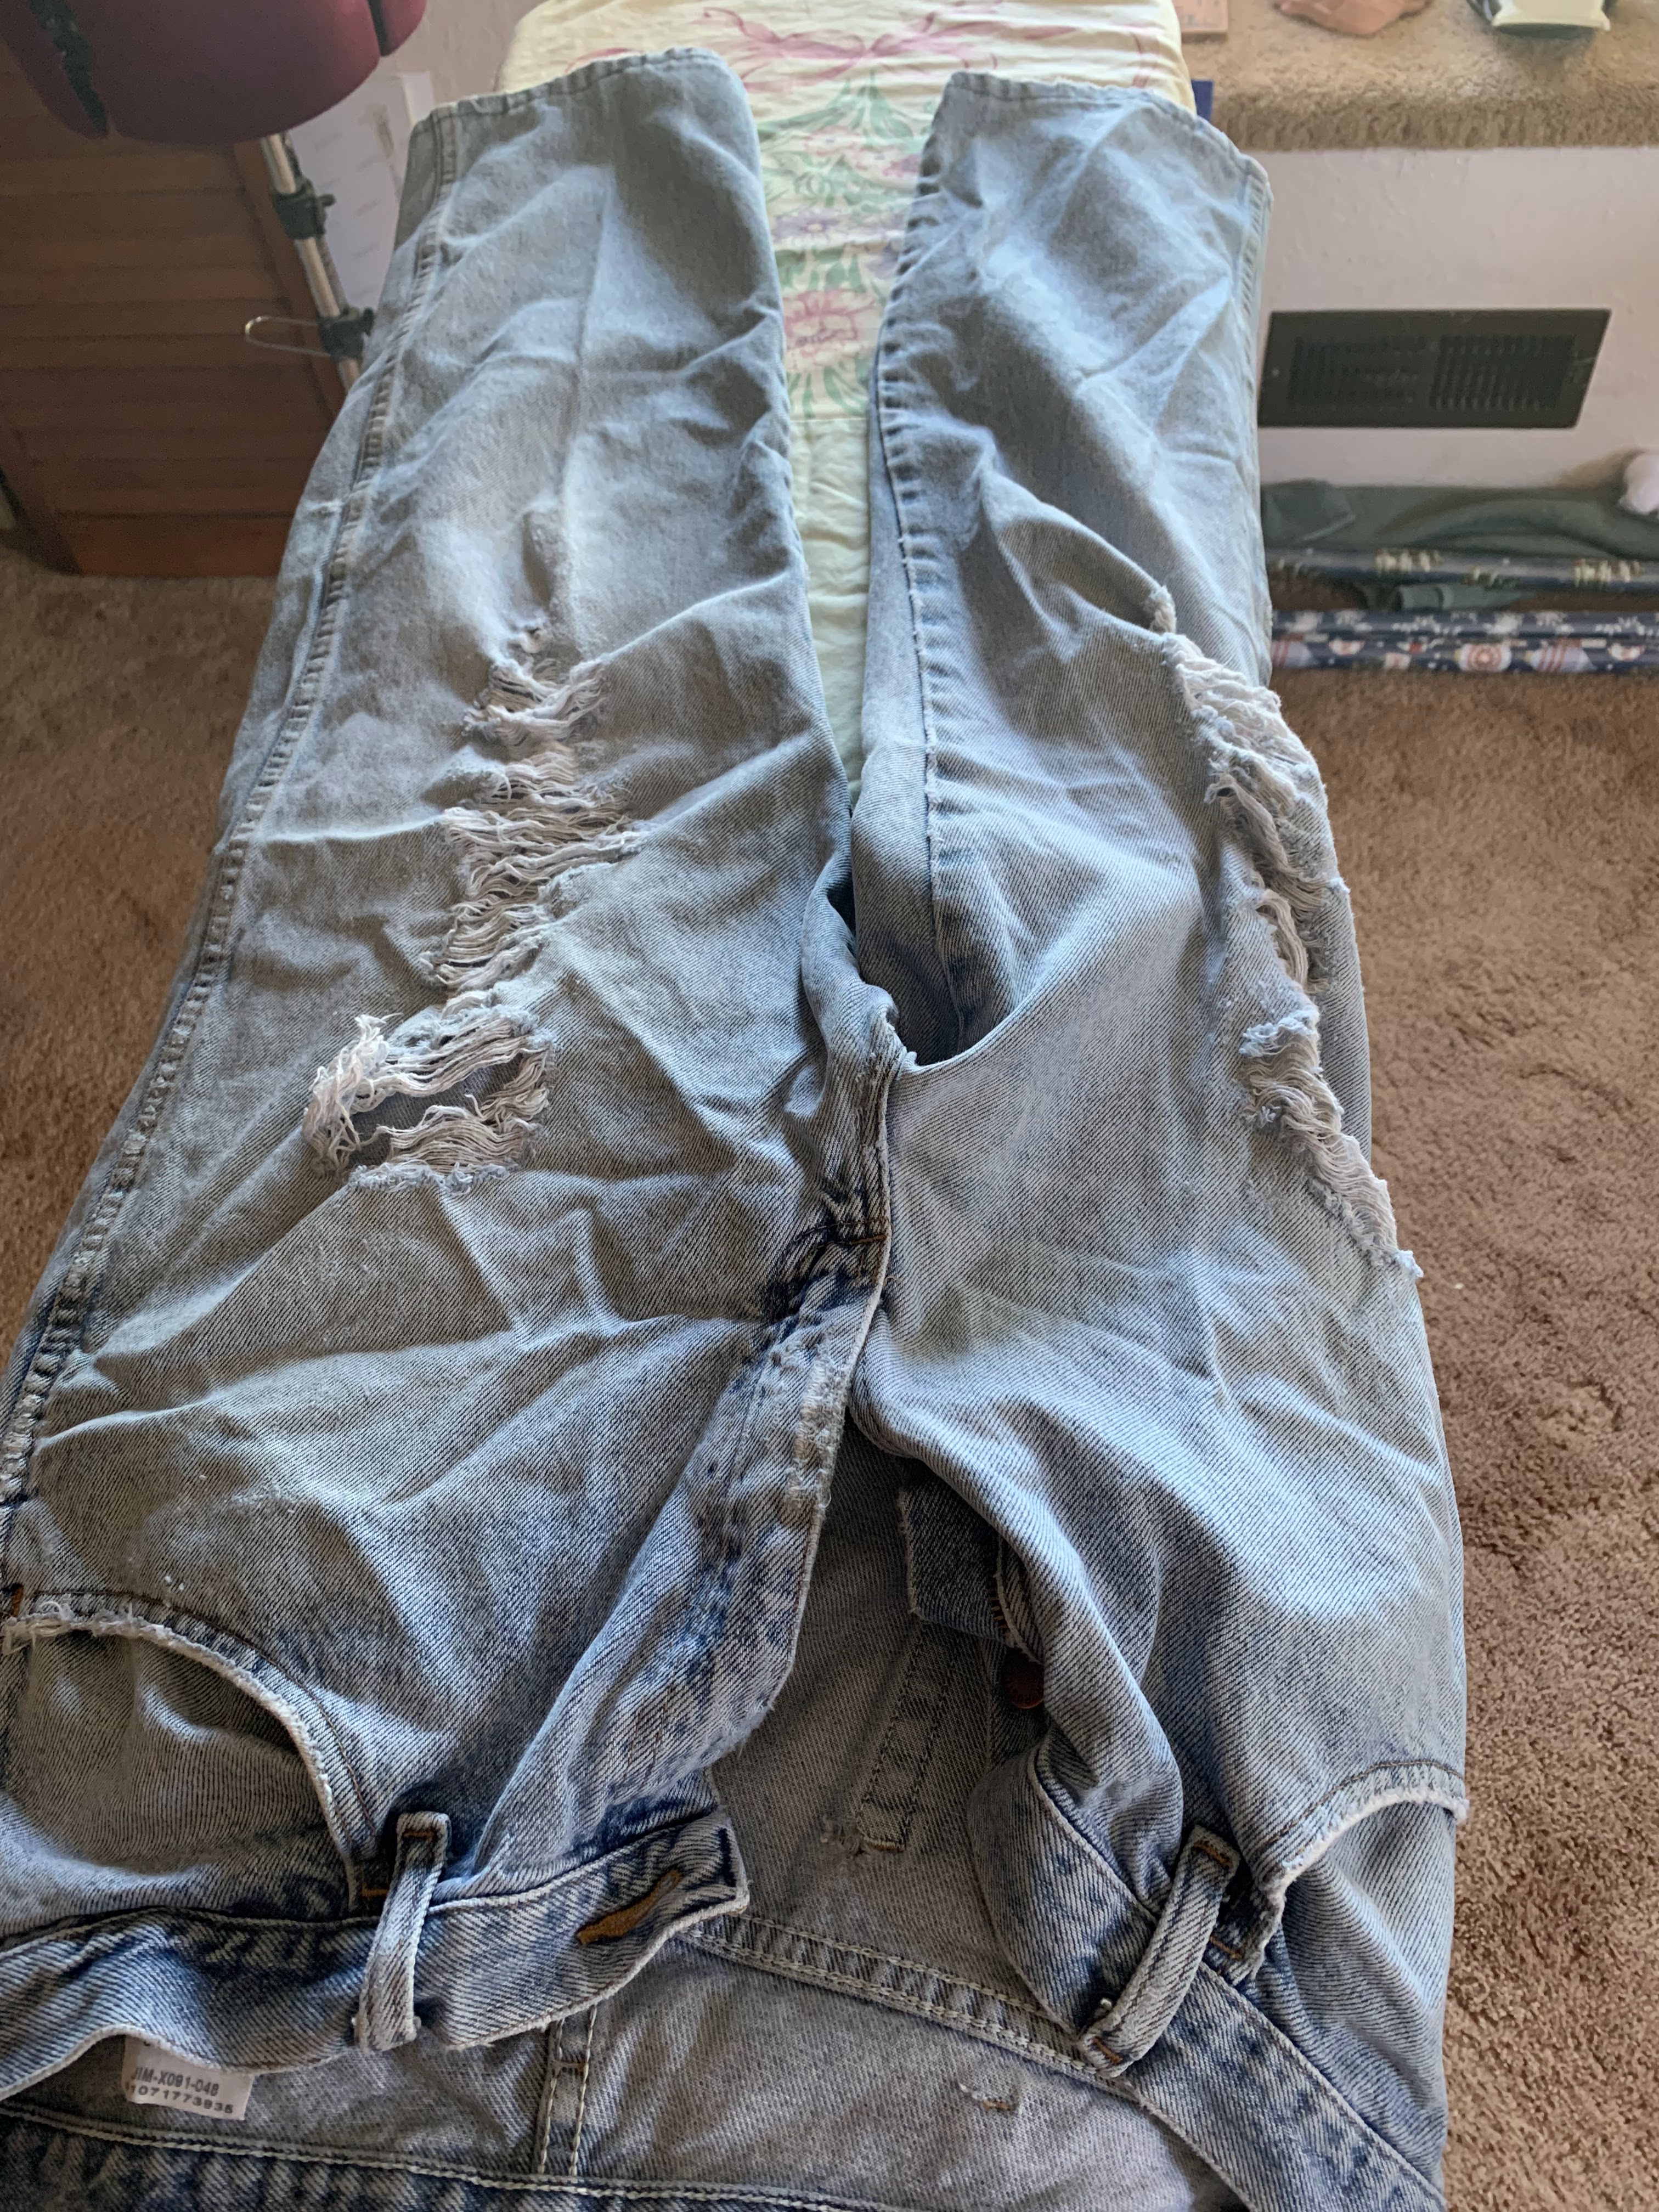
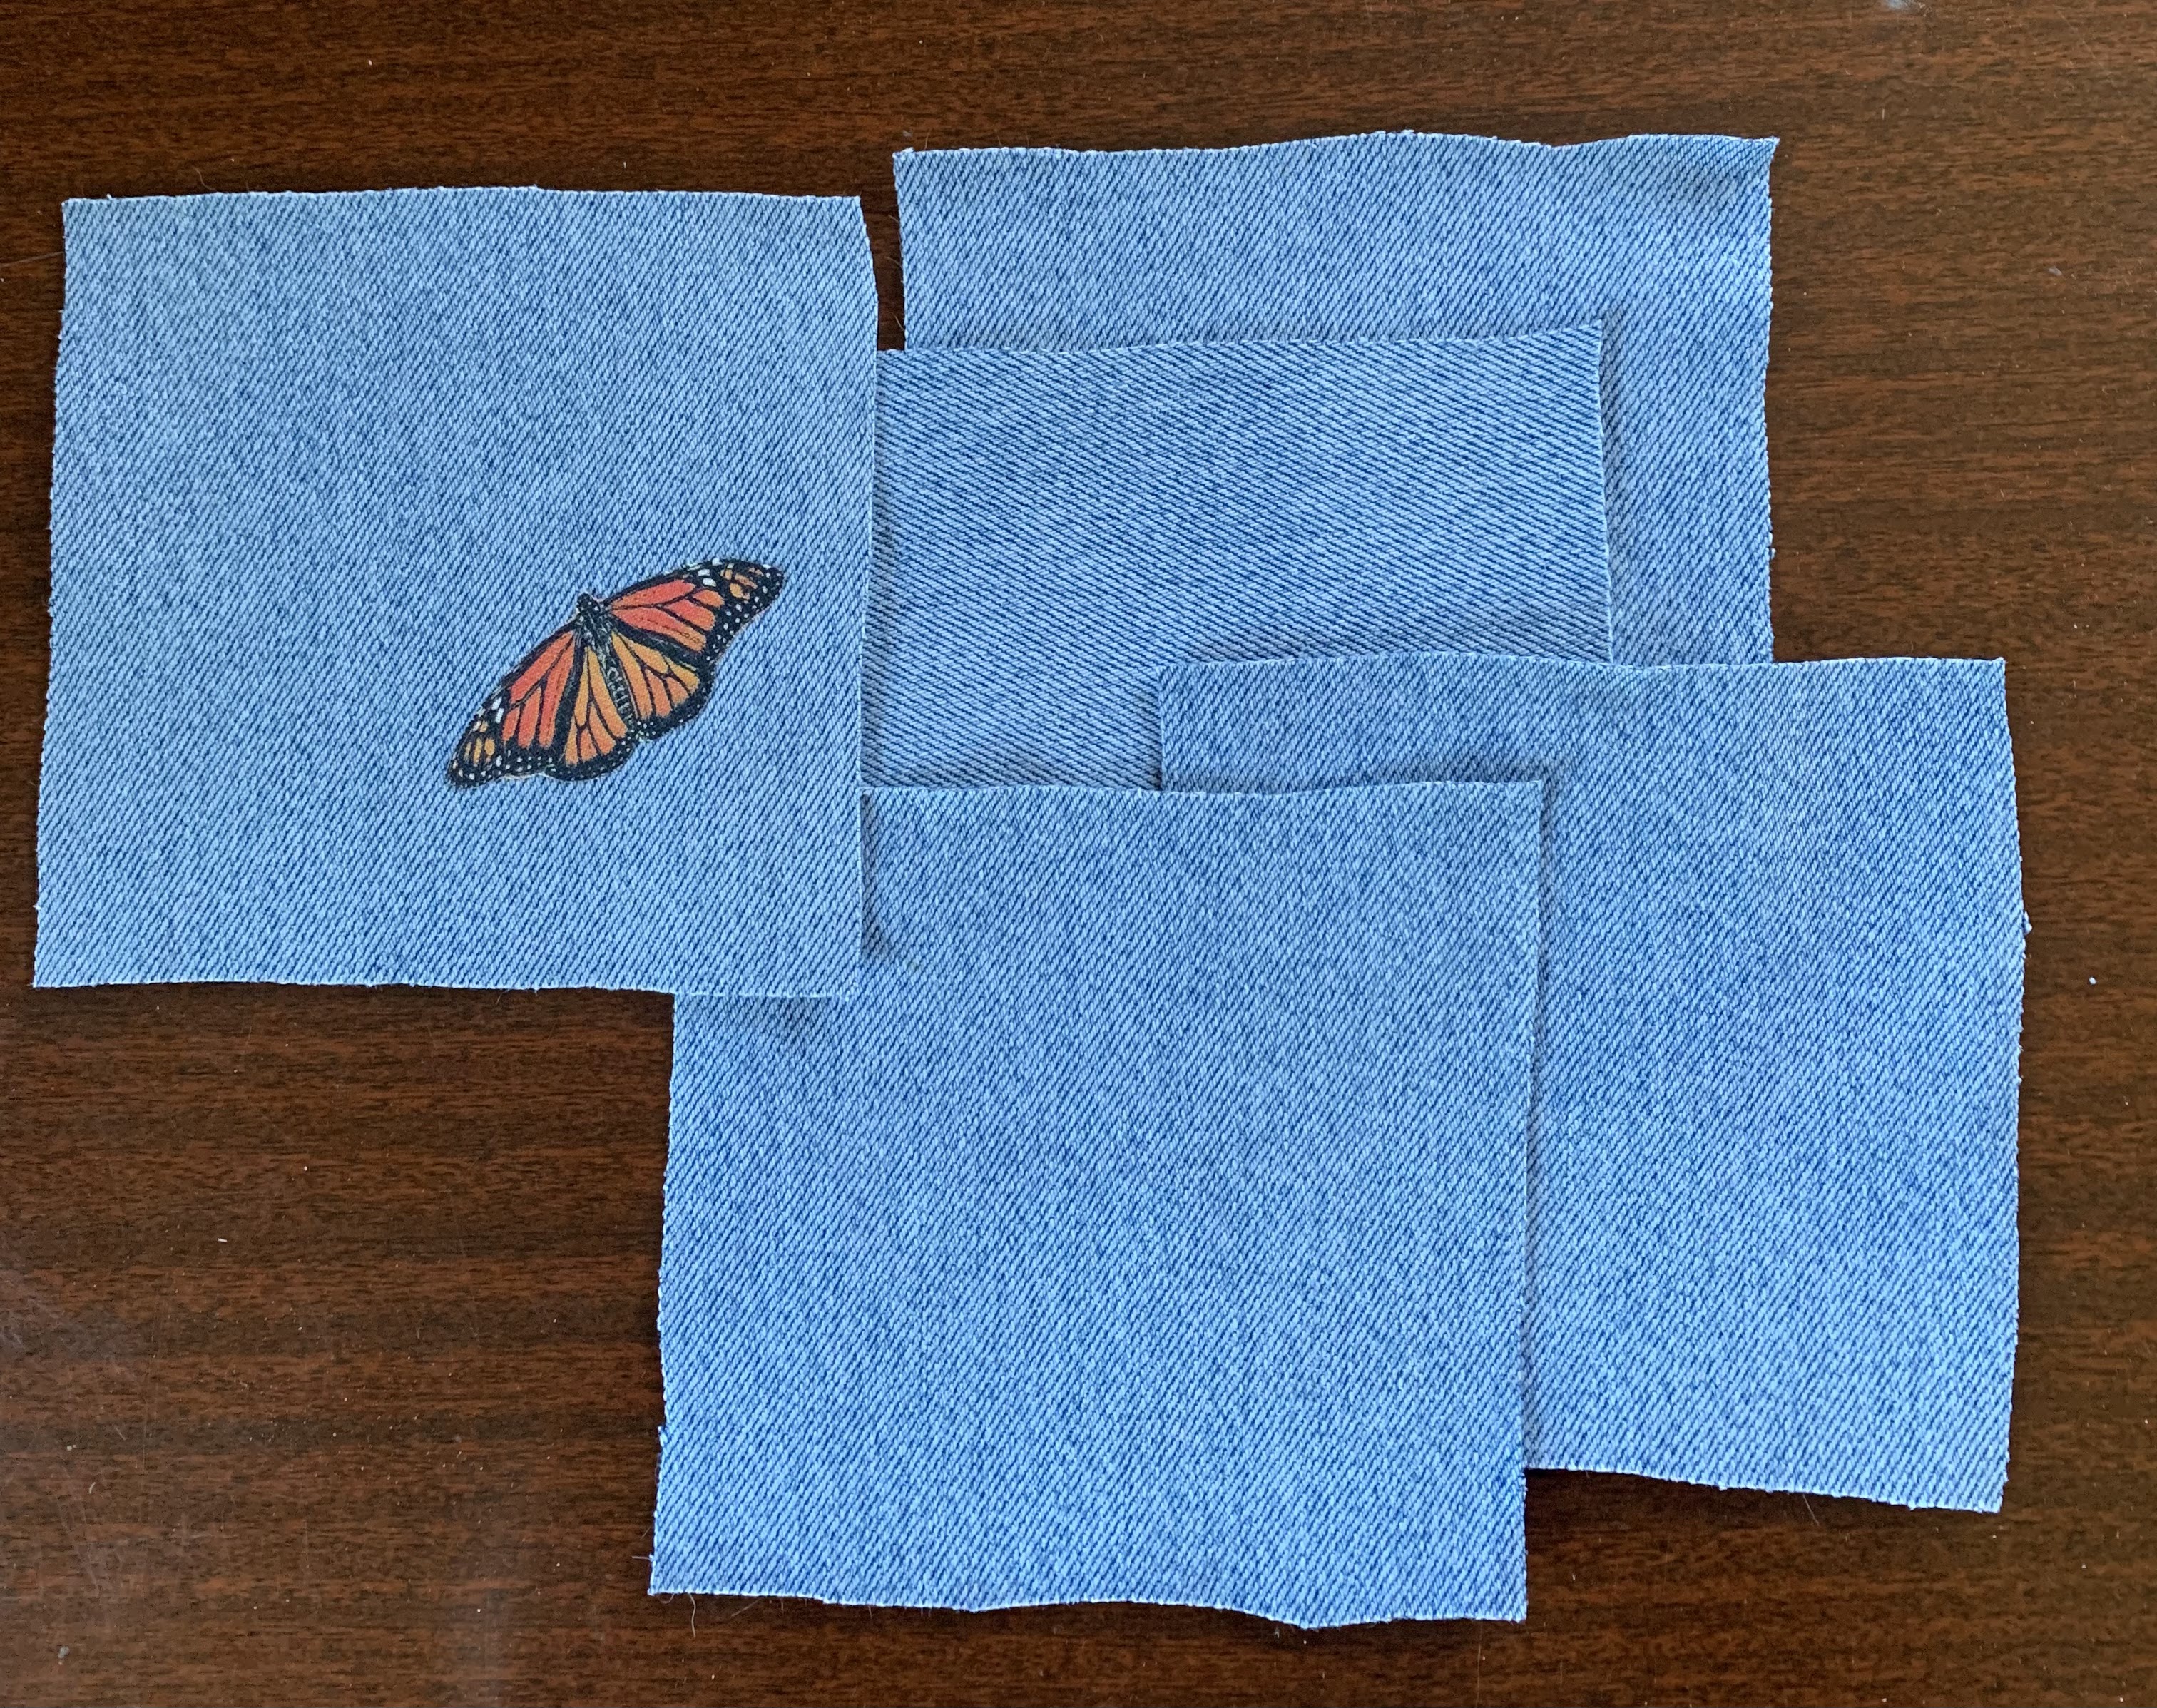
The sequence shows the VERY ratty pair of jeans my husband donated to the cause. I cut the legs off then opened them up. Using a 5" x 5" piece of card stock and a small bar of soap, I marked squares and cut them out,  then ironed them. The last one I ironed on one of the butterflies. All these will be used to practice free sewing. I used the jeans since the vest is also pretty heavy denim. I wanted to know how that would work under the needle. 

Next will be the actual stitching. Might not get to that until after Christmas. 


Just a note. On dark fabric soap makes a good temporary mark for quick jobs. You can rub it off with a damp cloth when done. Only caveat, it doesn't hold up over the long haul. 


Saturday, December 9, 2023

Butterfly On Bone Vest Part 1

After some thought...lots of thought...and a question post on FB about the usefulness of blogs or the lack thereof, I decided to fire this one back up. Mainly as a resource for myself, to keep a record of what I did, how I did it, and maybe why I bothered. Also a report on either success or failure. All this because as I get older my memory isn't all that it used to be! Alas. I wish to spare myself the frustration of not remembering how I did something, or what I used. 

So, first project is a denim vest I bought at the Goodwill for about $4:50. I found the skeleton and the butterfly printed fabrics at JoAnns. 


Here is the process.

I made a template of the space between the side seams out of clear photo protectors cut open to lay flat (they were the only thing I could find that was clear, and light enough to cut through. I purchased them at Staples). I laid this over the fabric to get the best position of the design. I drew around the template with a red fabric marker pencil, then cut the fabric out leaving a large margin - about three or more inches. 

Here is the fabric cut out and pinned to the vest at the top, just to give me a ballpark idea of how it would look.


At this point I got out the butterfly fabric, fused it to Heat and Bond, and cut out the butterflies, leaving the paper backing on. 


Then I pinned the butterflies onto the skeleton fabric, moving them around until I liked the way they looked. I then carefully unpinned the skeleton fabric from the vest and laid it on my ironing board, unpinned each butterfly one at a time, peeled the backing paper off and ironed it in place. 


This is where I stopped today. I want to look at it for a while and decide if I want to iron on more butterflies. When satisfied, I intend to pin the skeleton fabric in place on the vest, then in black thread free-sew around the bones, and also secure the butterflies the same way. Then with a lighter thread I will free-sew the background shapes. Essentially appliquéing everything to the vest. However, I have never done any free-sewing, so I am going to practice a bit before I attempt the vest. 


Note to self: Next time put a protective cloth over your ironing board, or make sure you keep the iron within the fabric piece when heat bonding. You know, so you don't leave a frame of sticky bonding glue fused onto your ironing board cover.


If anyone has any questions, feel free to leave them in the comments. 


Thursday, May 23, 2019

Mandala Stenciled, Beaded, Stitched T-shirt II

This is the second mandala shirt I have done, and I really like the way they have both turned out. Here is a pictorial essay on the process, and at the end some tips to keep in mind if you would like to try this process on your own. 

All these projects are done on Goodwill T-shirts, and the stenciled appliqués are other Goodwill shirts cut up for fabric.

Picking the colors. You can see I have already stenciled the first layer.  Paint color here is Dioxazine Purple acrylic by Americana. Try to chose harmonious color combinations, as the beading adds a lot of eye-candy to the fabric and you want that to be the focus. 


Next, set up the layers on the garment T-shirt. I use large safety pins for this. Be sure to center the design, which can be a bit tricky on shirts that have been worn as many times as these. The knit has usually warped or twisted to a certain degree. Get it as close as you can. I tend to eyeball it, step back, and eyeball it again until I think it is good to go. 


Then the fun begins. The beading. I used regular sewing thread, and whatever needle will fit the beads I am using. Test the beads after the needle is threaded, as some will go over the needle, but not over the extra bulk of the thread. Keep in mind the intricacy of the design, and don't get beads that are too large or too small. I use a standard, easy-peasy back stitch for beading. Once the beading is done, I do a running stitch just to the outside of the stencil. In this case, at each point of the mandala I added a blue bead. Stitching this way keeps the material from rolling back over the beads.


In this photo you can see how the knit is rolling toward the front. I got this one on backwards so had to deal with it. Also, as in this case, it looked like the knit was going to roll the other way, and then the more I worked with it, the more it changed. Bottom line, don't sweat over it. 


Next is to unpin and trim away the top (in this case rose colored) fabric, leaving about a 1/4" margin. Be careful not to cut into your running stitches, or the fabric underneath. 
 Re-pin the bottom layer and do another running stitch around the edge, again 1/4" margin. When finished, unpin the fabric and trim away the excess, 1/4" away from the running stitches. Again, being VERY careful not to cut into the running stitches or the shirt. 


Lastly, in this design, I add a charm in the center. This can be anything from a larger bead, a button, or charm. 


At this point, you are done! And just remember, this is meant to look handmade, not like some mass-produced piece from China. Small imperfections are not the end of the world. 


Here are a few tips and suggestions for stenciling and beading on fabric.

I use shirts from the Goodwill in an effort to recycle rather than buy new. The garment industry is one of the most heavily polluting in the world. Not only do I buy the base T-shirt, but also I buy XXXL mans shirts to cut up for flat fabric. The purple on this shirt was just the sleeve from one of those large shirts. I double wash everything before using. 

Stencils can be found everywhere. There are literally hundreds to choose from. To start, pick something simple. Also, I like to leave sections of the stencil un-beaded as part of the whole design. 

Beads are sold everywhere or can be ordered online. JoAnn's and Craft Warehouse are good sources. Online, Fire Mountain Gems and Beads will overwhelm you with choices. The size of the bead should be in relation to how complicated the stencil design is. Also, if your beads are really small, you will need to use a beading needle. I use a size 13. Anything smaller makes me crazy trying to thread it. 

When setting out the layers, check to see which way the knit tends to roll, then face that toward the main shirt. With this kind of work, it isn't super important whether you use the right or wrong side of the fabric, so if the knit curls toward the right side, put that side face down. This keeps the knit, after you have washed it a few times, from rolling over the stitching. 

As for paint, I have used fabric paint, craft paint, and my regular acrylic paints...all acrylic based, so easy to clean up and fast drying. I dab them on with small makeup sponges available at any cosmetic counter. I leave the piece to dry overnight and that has worked out just fine. 
Note: I tried a thick glitter paint once. Once. It was a nightmare to get in the stencil and didn't cover very well. When the project was finished, I threw the paint away! I have used metallic paint with great success, though. Next I want to experiment with fabric spray paint!

Here are a few photos of previous projects I have done. I love beading and stitching over stencils. I was my way of solving the problem of how to get an intricate pattern design on fabric that wouldn't rub off before the beading was done. I get things laid out,  cue up Pandora, and zone out. 


 The above piece is also reverse appliqué.


Enjoy...it is as fun as it is addicting. 

If you have any questions, please feel free to comment.