After some thought...lots of thought...and a question post on FB about the usefulness of blogs or the lack thereof, I decided to fire this one back up. Mainly as a resource for myself, to keep a record of what I did, how I did it, and maybe why I bothered. Also a report on either success or failure. All this because as I get older my memory isn't all that it used to be! Alas. I wish to spare myself the frustration of not remembering how I did something, or what I used.
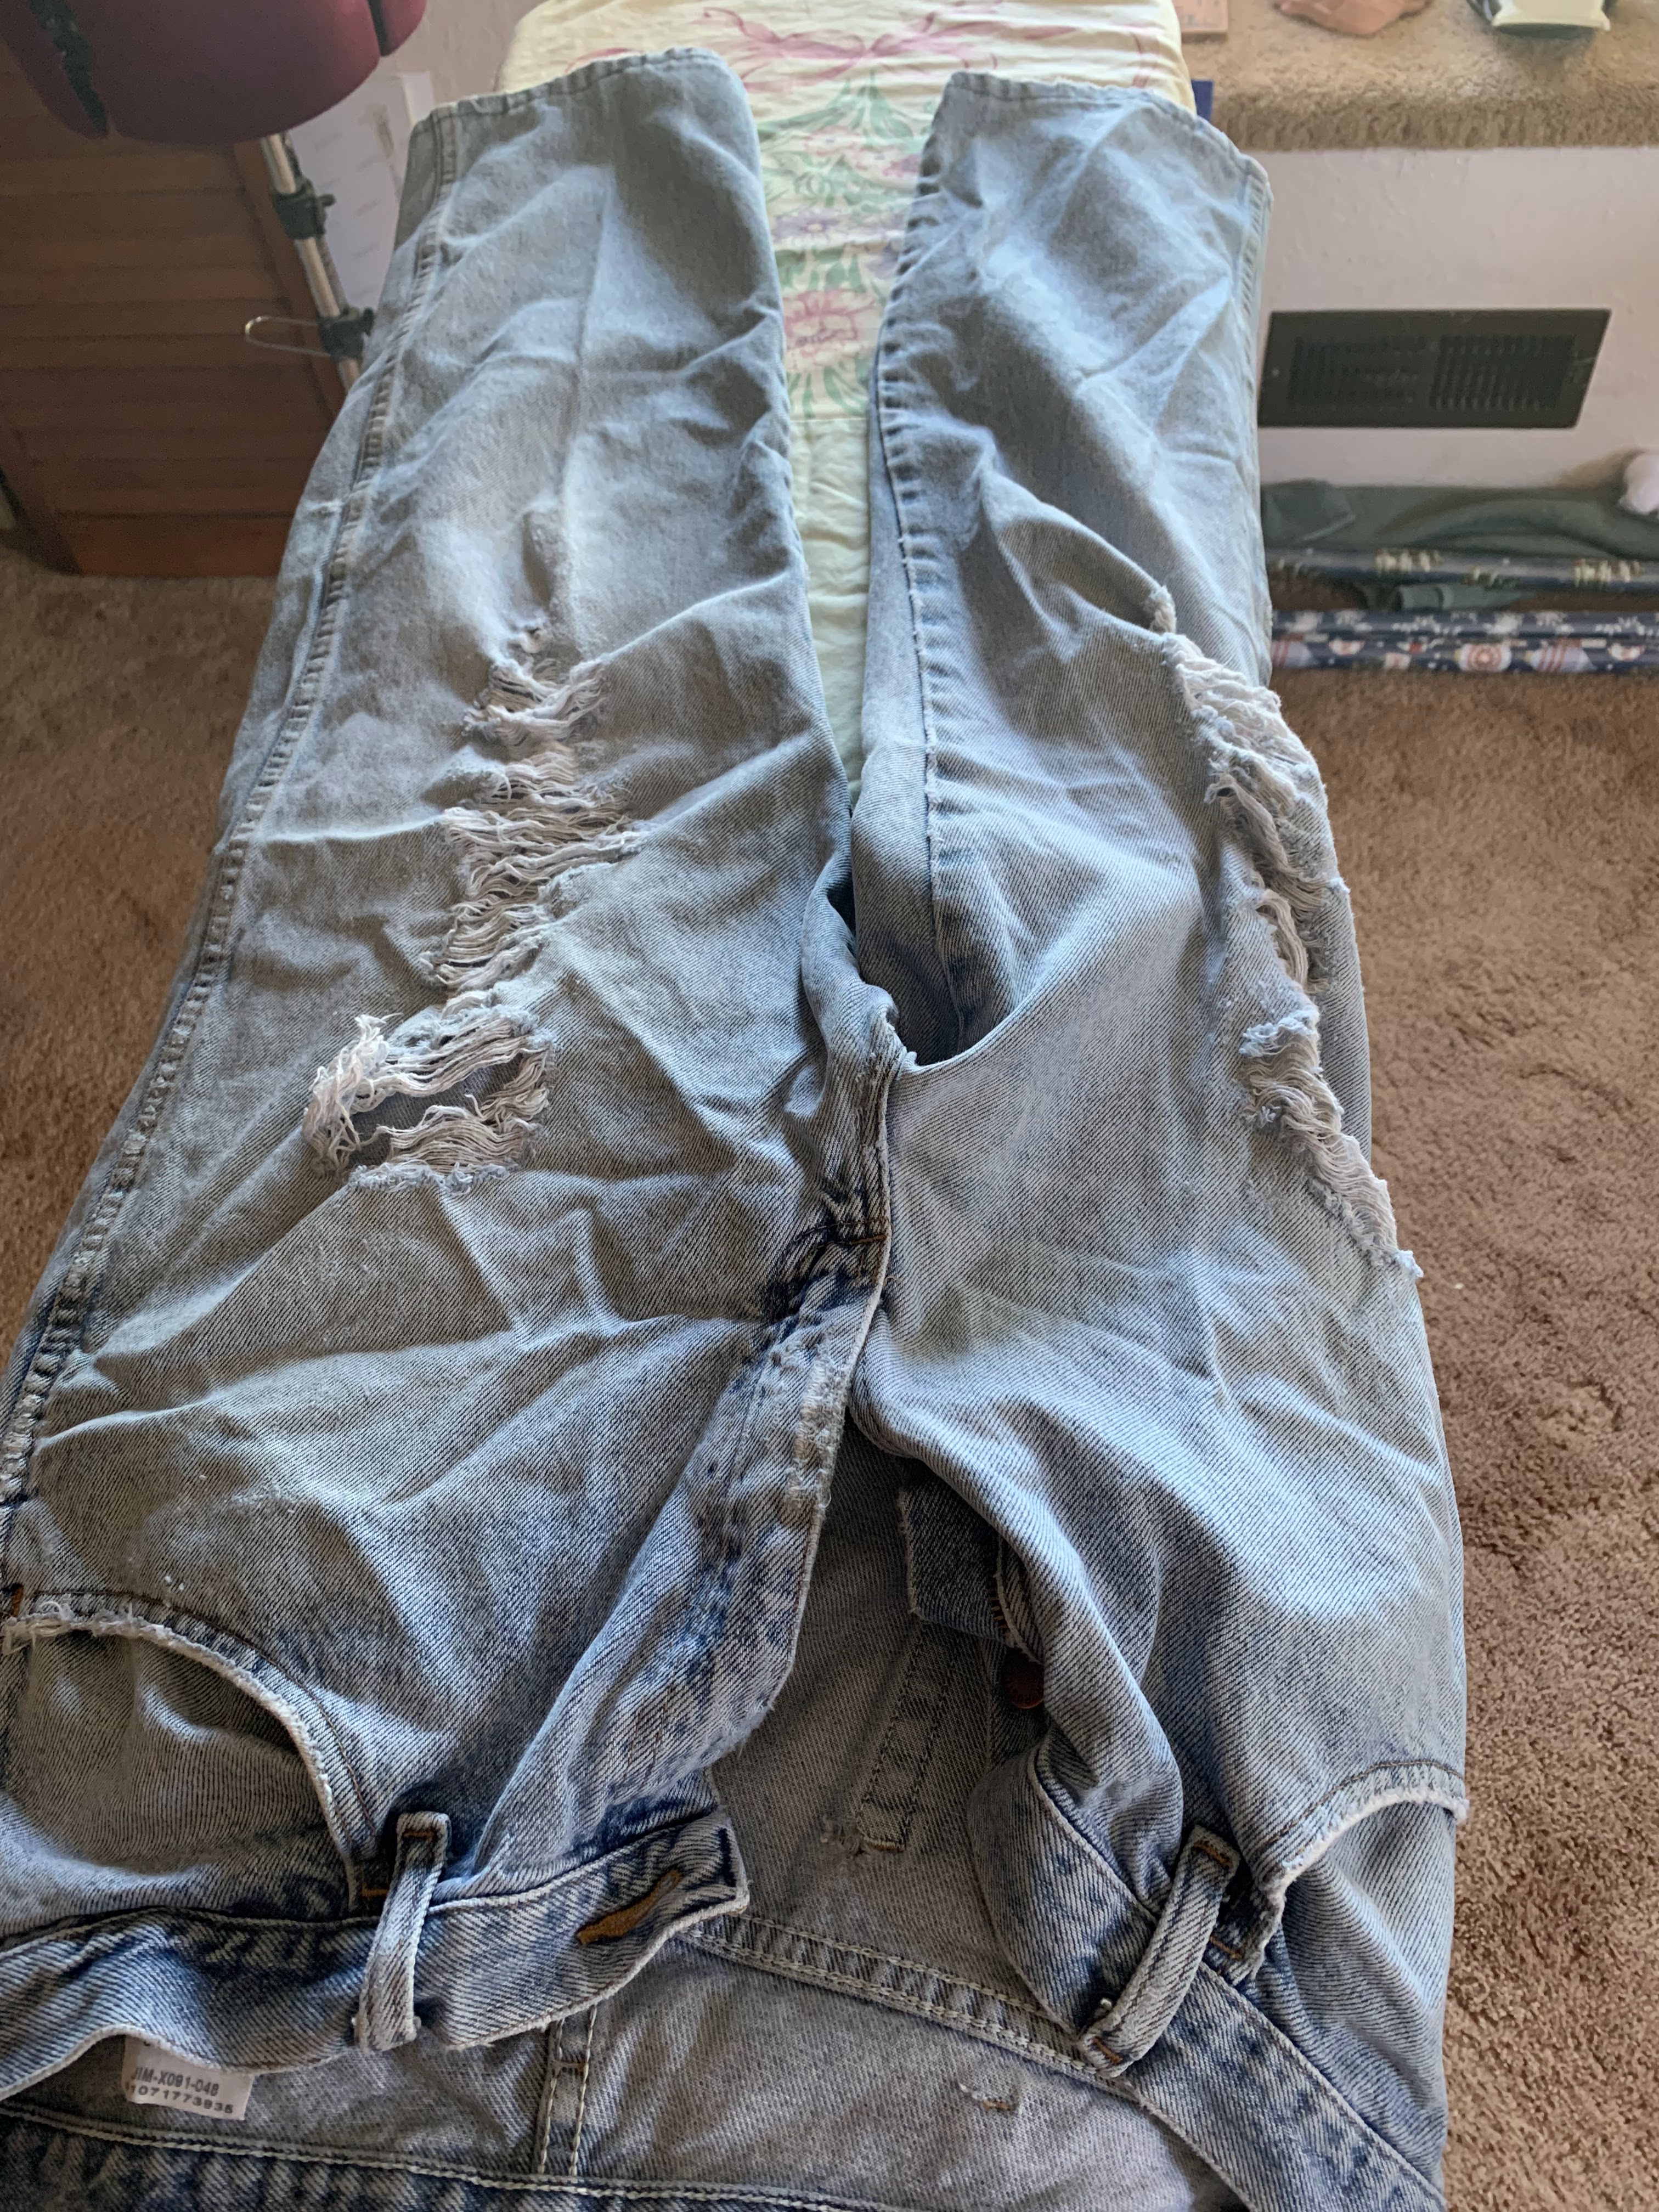
So, first project is a denim vest I bought at the Goodwill for about $4:50. I found the skeleton and the butterfly printed fabrics at JoAnns.
Here is the process.
I made a template of the space between the side seams out of clear photo protectors cut open to lay flat (they were the only thing I could find that was clear, and light enough to cut through. I purchased them at Staples). I laid this over the fabric to get the best position of the design. I drew around the template with a red fabric marker pencil, then cut the fabric out leaving a large margin - about three or more inches.
Here is the fabric cut out and pinned to the vest at the top, just to give me a ballpark idea of how it would look.
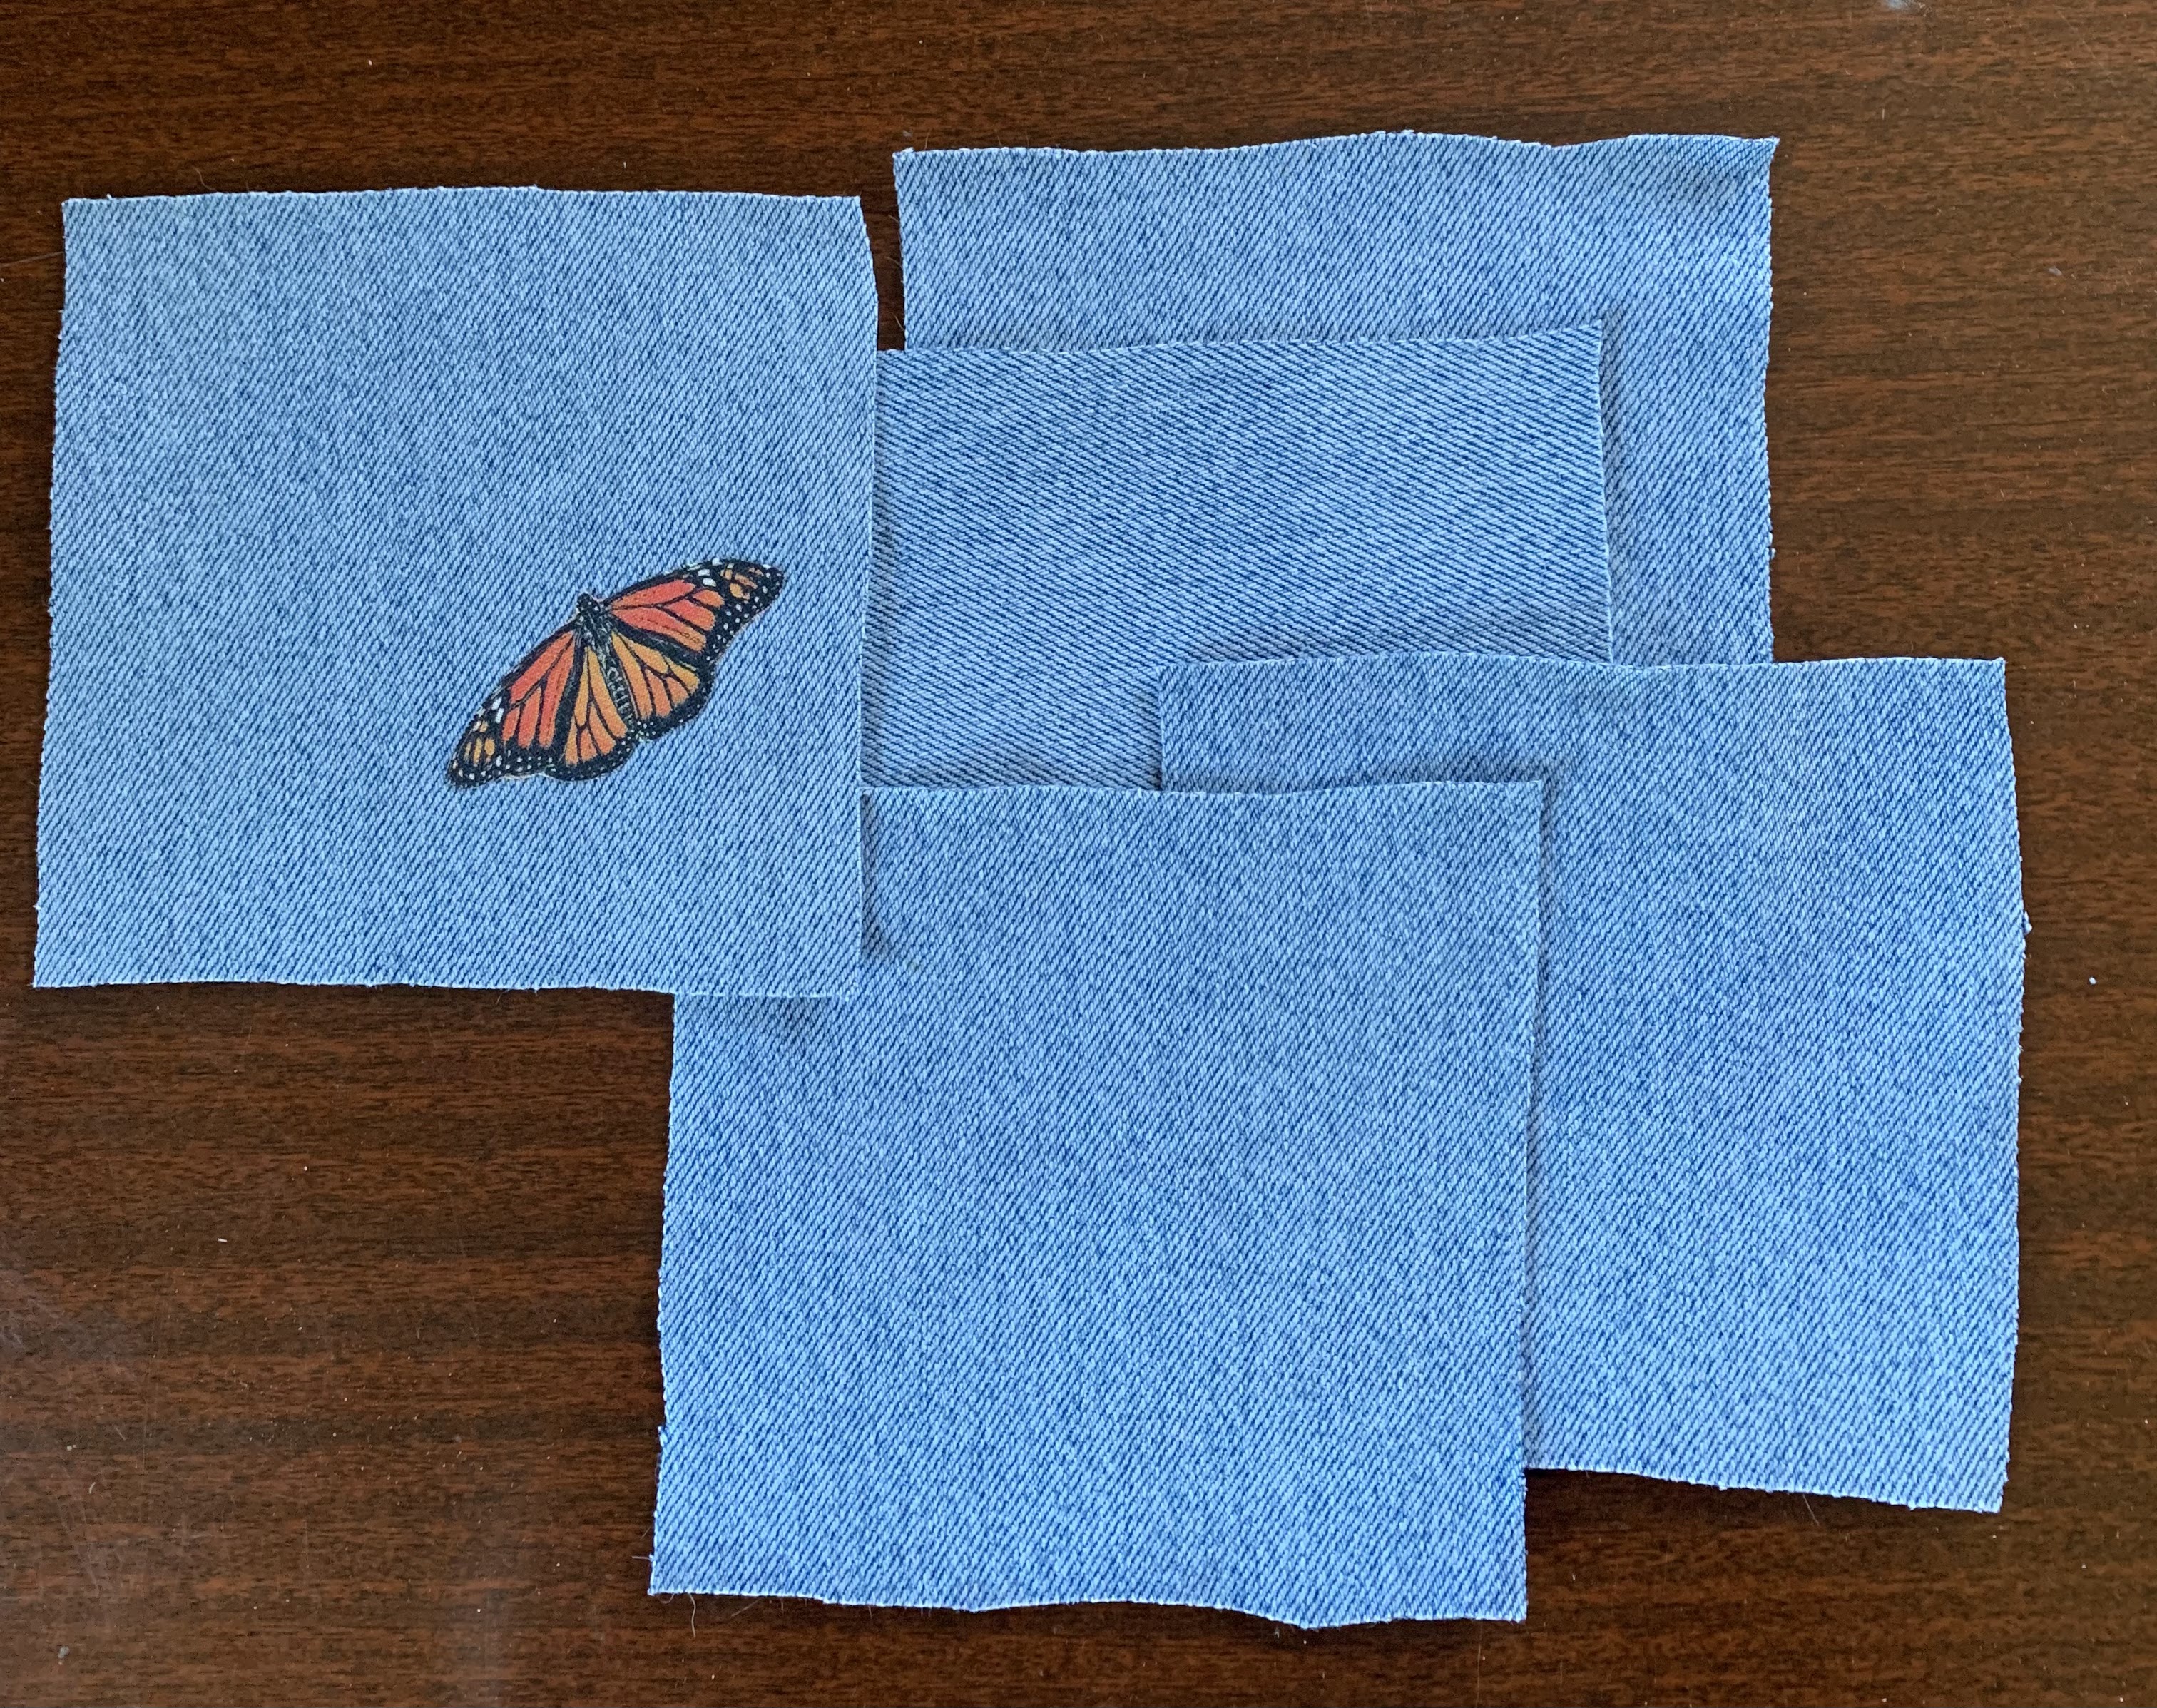
At this point I got out the butterfly fabric, fused it to Heat and Bond, and cut out the butterflies, leaving the paper backing on.
Then I pinned the butterflies onto the skeleton fabric, moving them around until I liked the way they looked. I then carefully unpinned the skeleton fabric from the vest and laid it on my ironing board, unpinned each butterfly one at a time, peeled the backing paper off and ironed it in place.
This is where I stopped today. I want to look at it for a while and decide if I want to iron on more butterflies. When satisfied, I intend to pin the skeleton fabric in place on the vest, then in black thread free-sew around the bones, and also secure the butterflies the same way. Then with a lighter thread I will free-sew the background shapes. Essentially appliquéing everything to the vest. However, I have never done any free-sewing, so I am going to practice a bit before I attempt the vest.
Note to self: Next time put a protective cloth over your ironing board, or make sure you keep the iron within the fabric piece when heat bonding. You know, so you don't leave a frame of sticky bonding glue fused onto your ironing board cover.
If anyone has any questions, feel free to leave them in the comments.