"To live in the world without becoming aware of the meaning of the world is like wandering about in a great library without touching the books.".....The Secret Teachings of All Ages

"Neither aesthetics nor money-spent make a good studio-it's what you make inside it that really counts"...Shanna Van Maurice, artist.


Showing posts with label stitching. Show all posts

Wednesday, December 20, 2023

Butterfly on Bone Vest Part 2

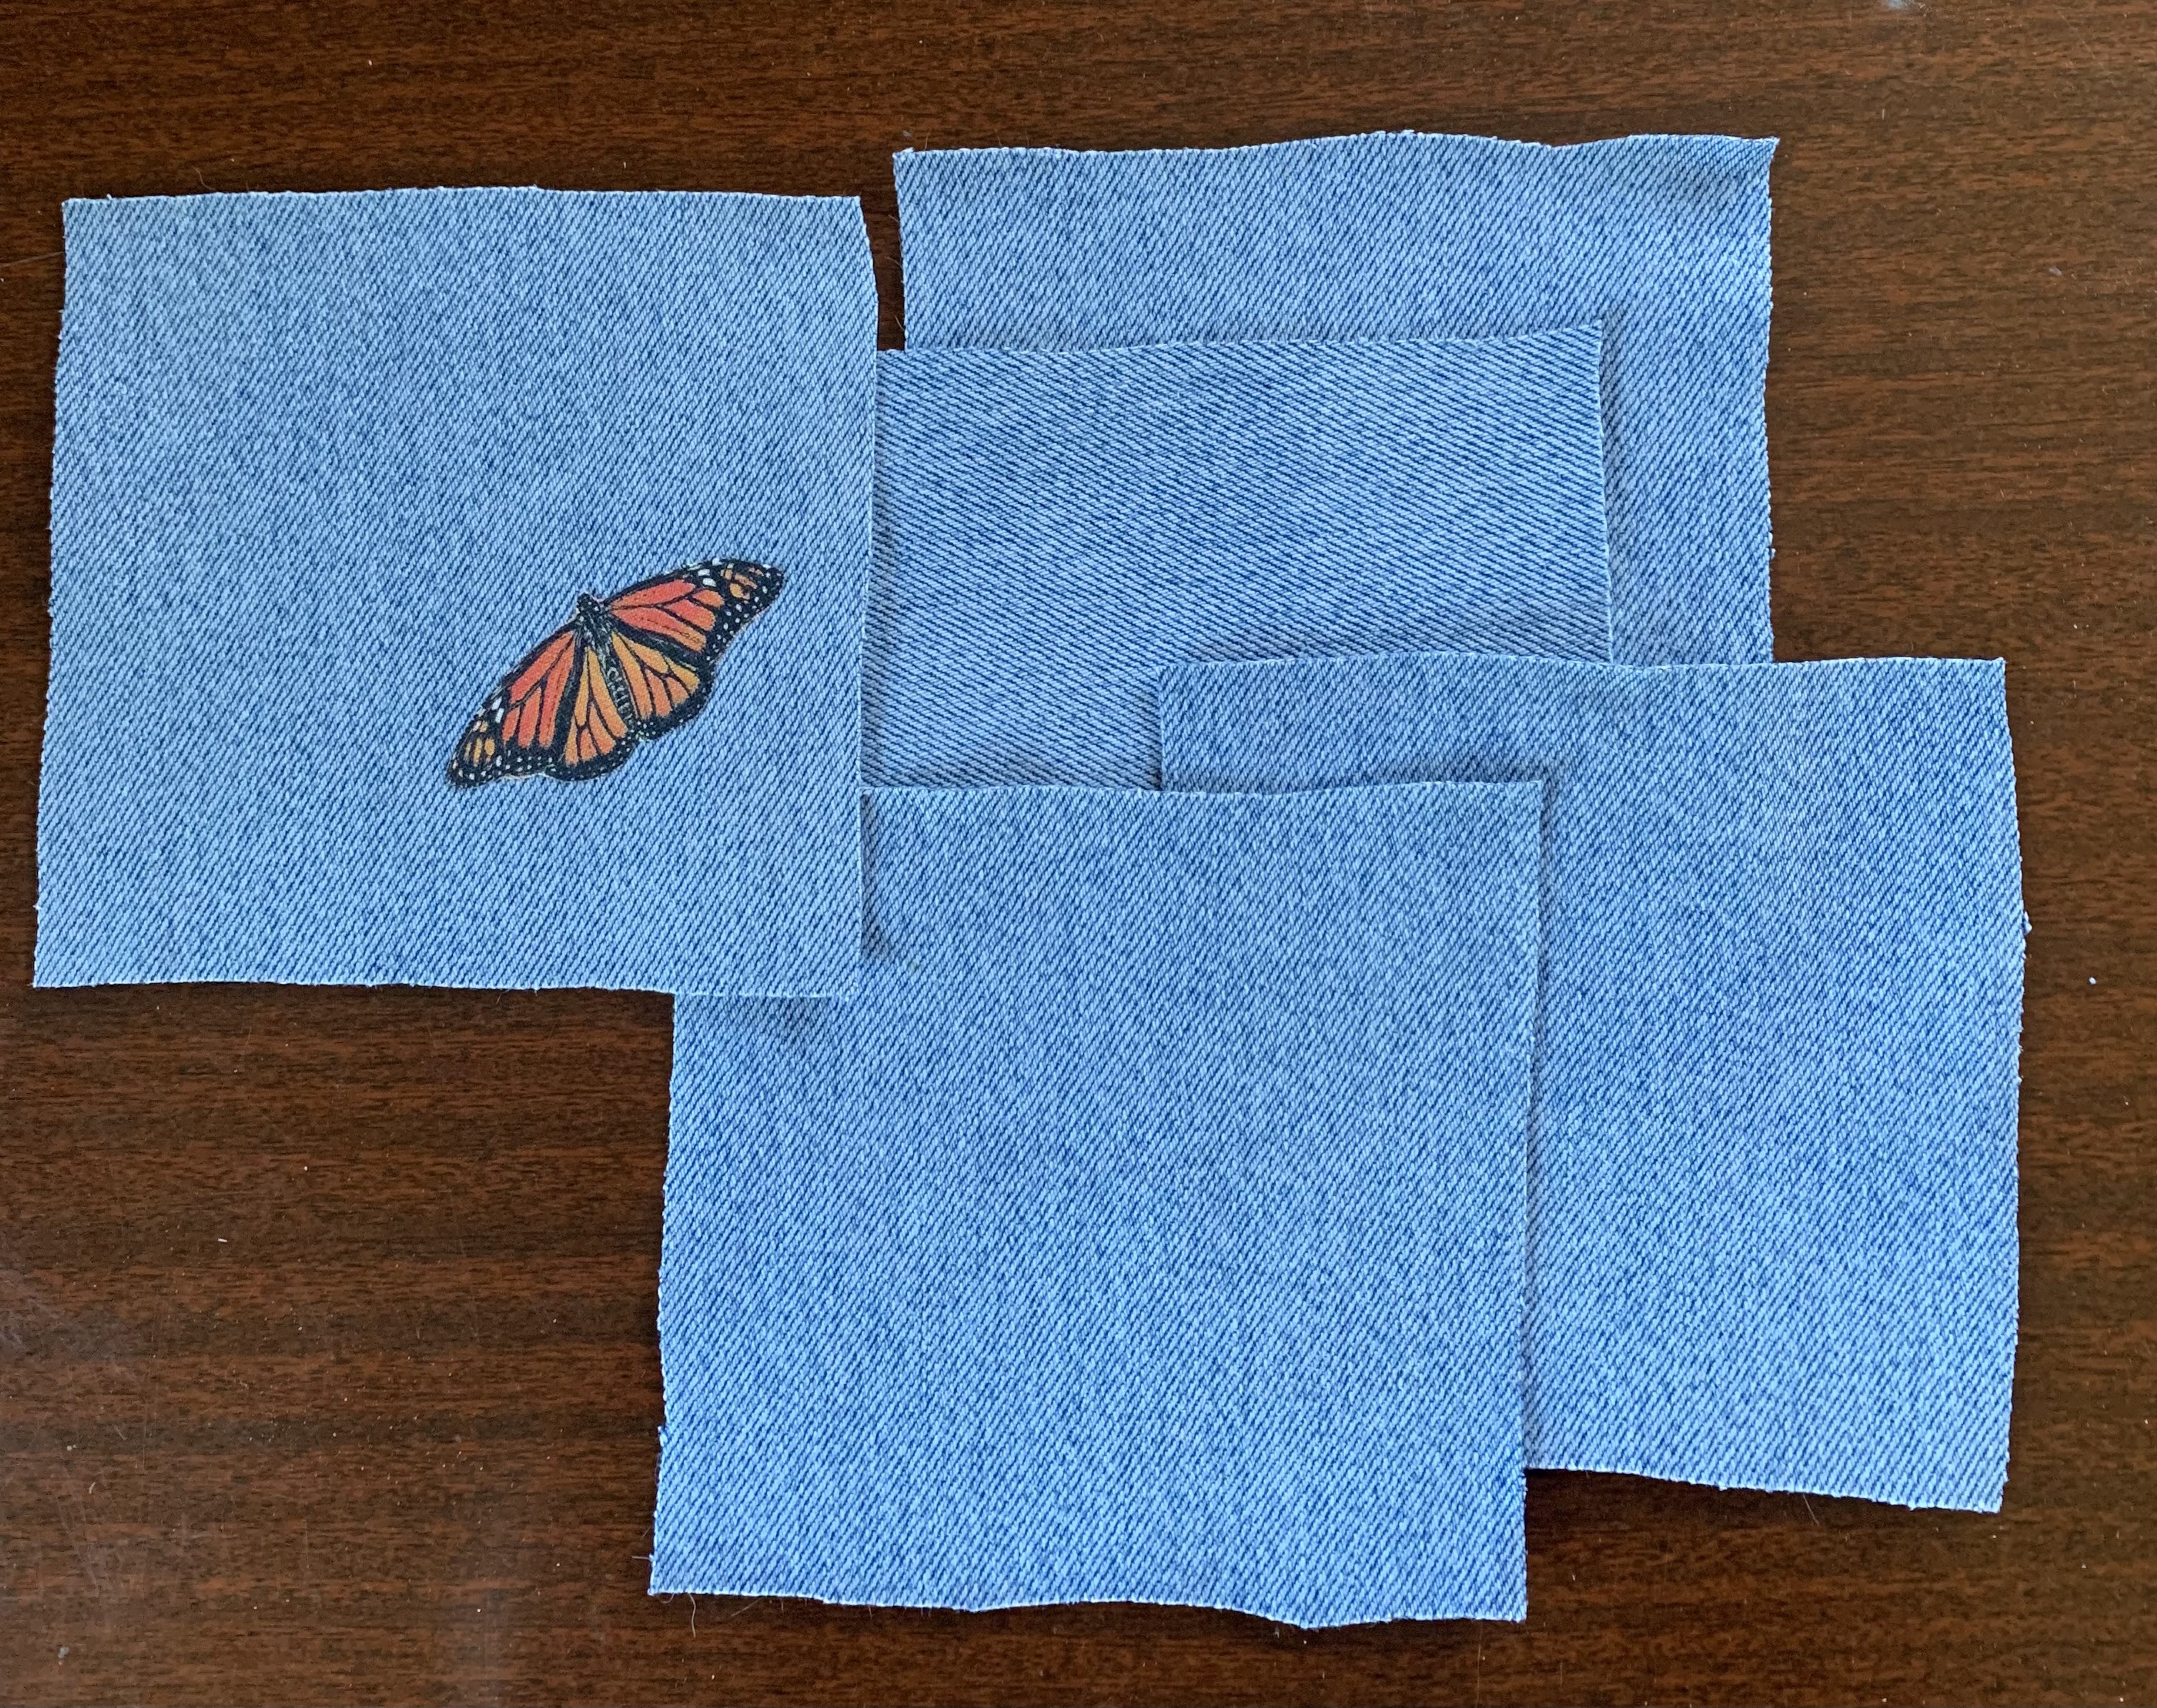
This is the more boring part of getting ready to appliqué the bone fabric onto the vest. I need to practice free stitching, which as stated in part one, I have never done. Today was prep day.

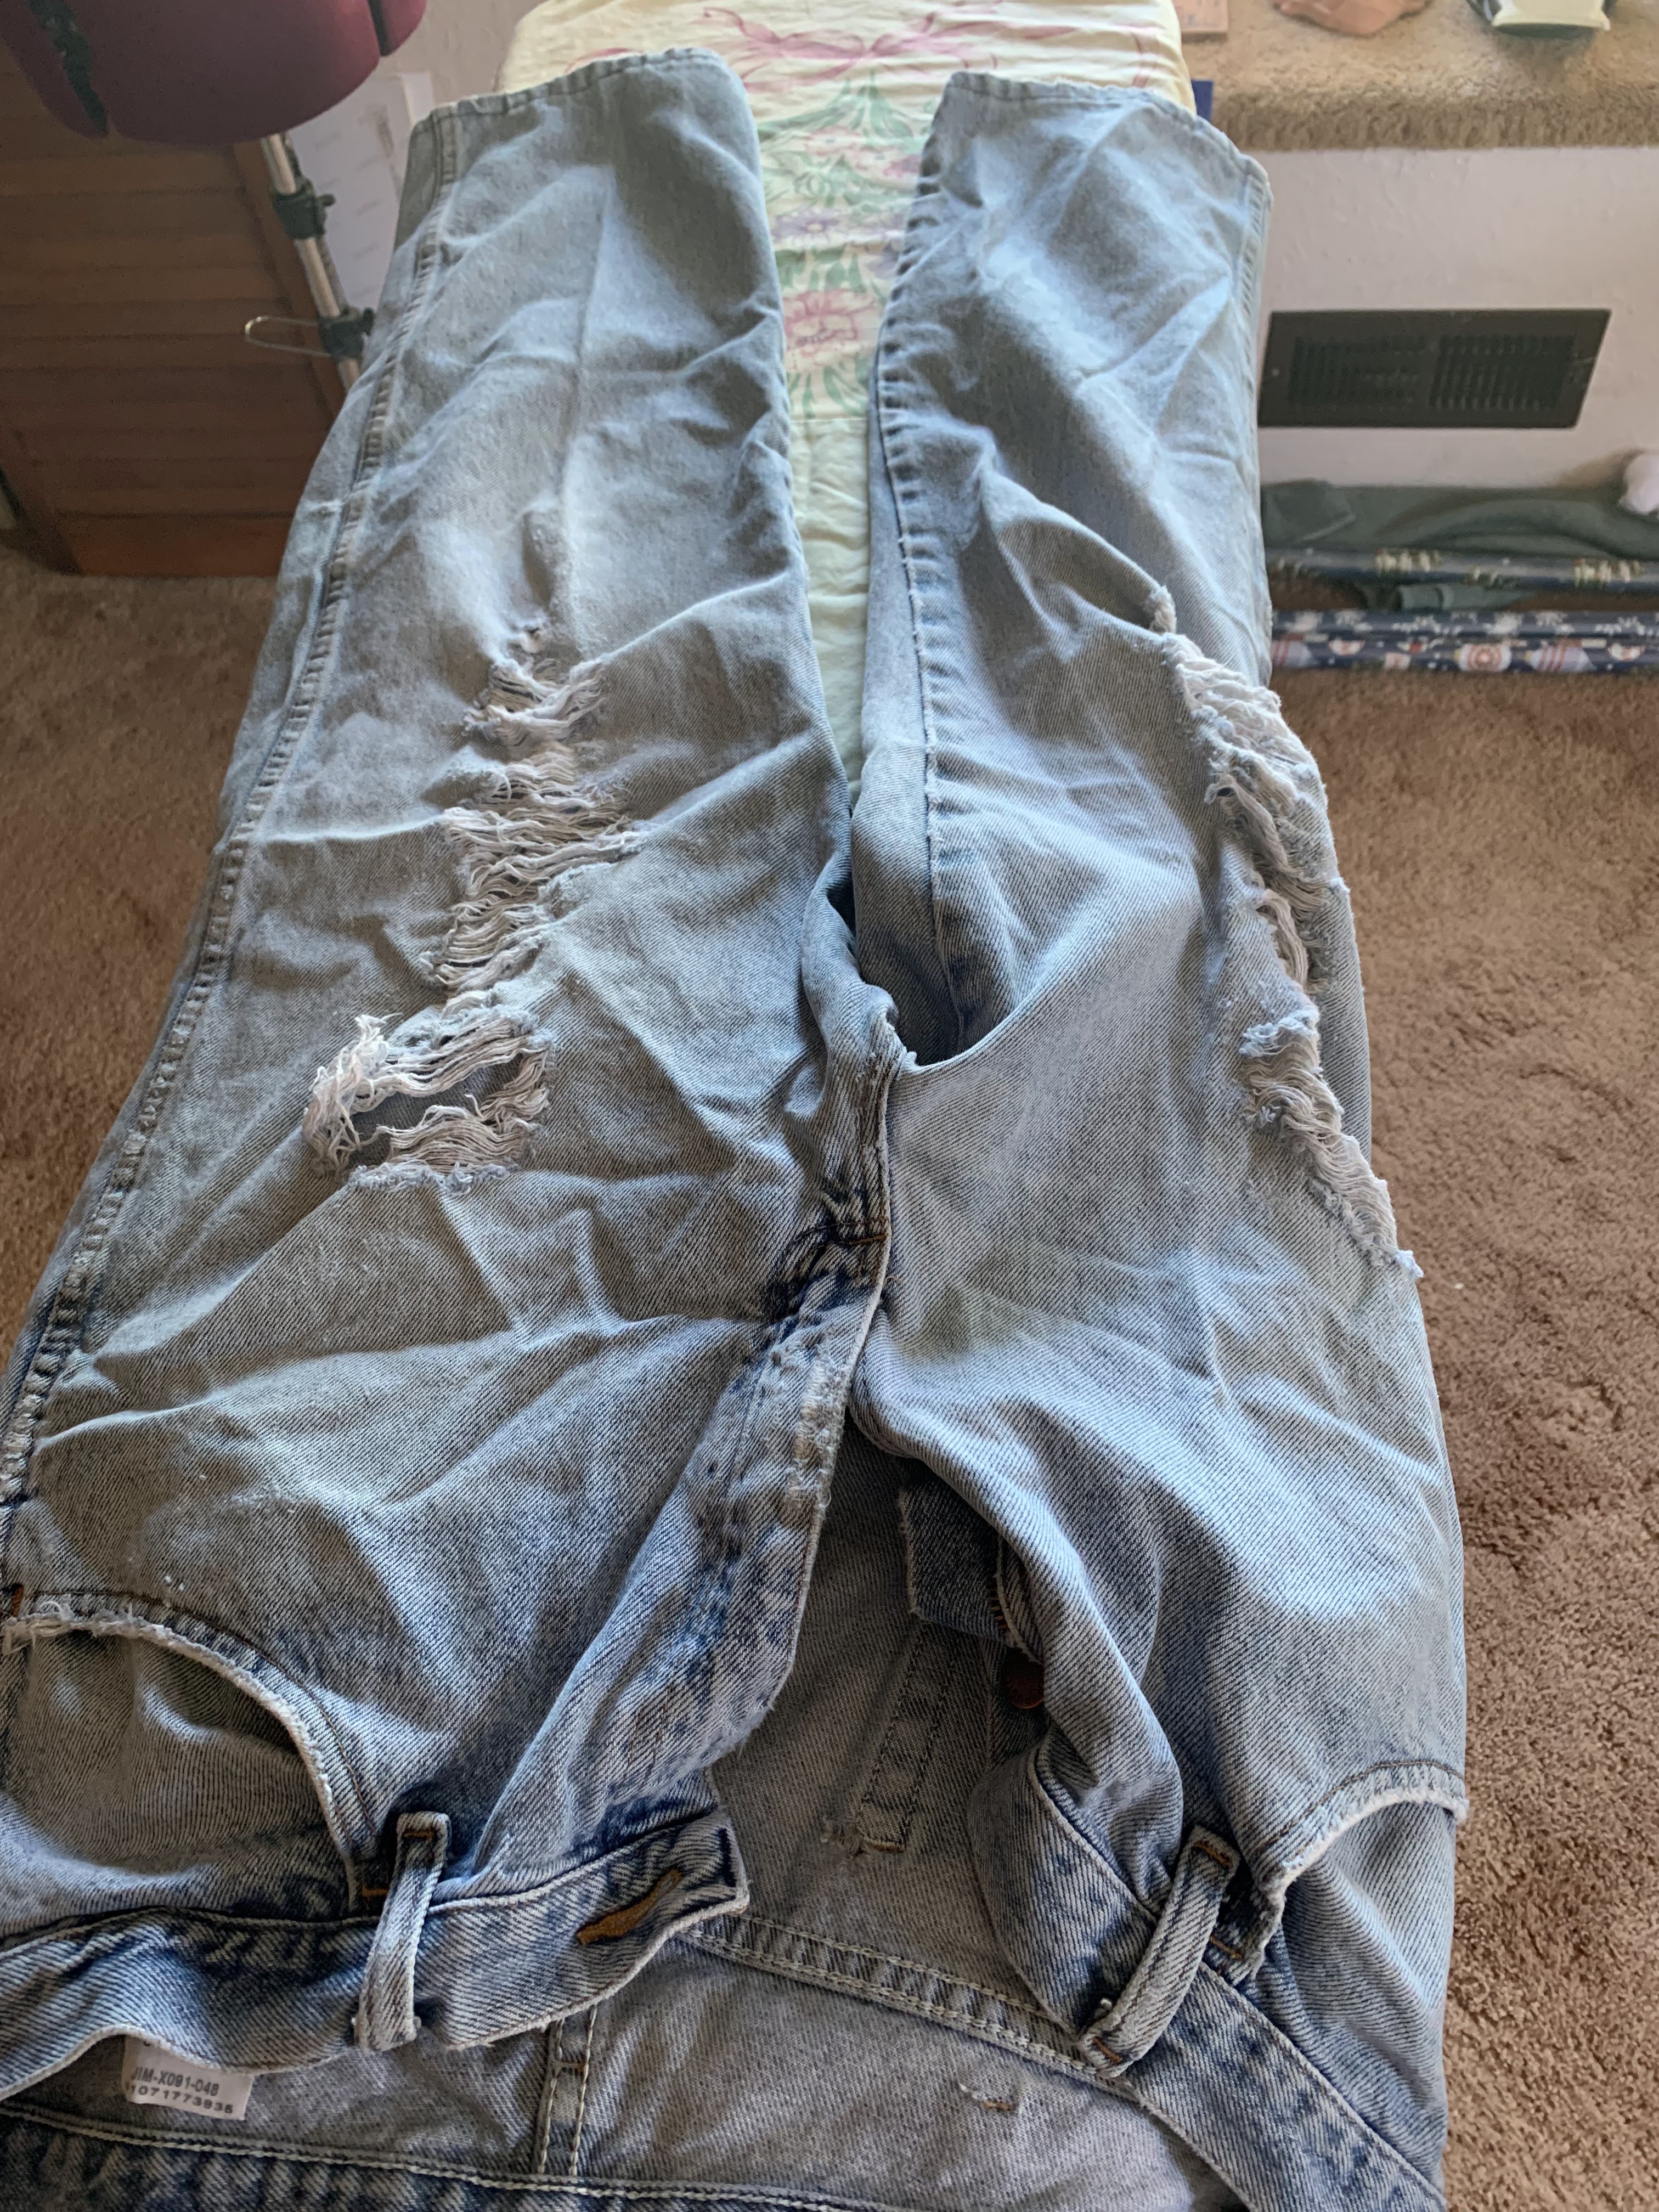
The sequence shows the VERY ratty pair of jeans my husband donated to the cause. I cut the legs off then opened them up. Using a 5" x 5" piece of card stock and a small bar of soap, I marked squares and cut them out,  then ironed them. The last one I ironed on one of the butterflies. All these will be used to practice free sewing. I used the jeans since the vest is also pretty heavy denim. I wanted to know how that would work under the needle. 

Next will be the actual stitching. Might not get to that until after Christmas. 


Just a note. On dark fabric soap makes a good temporary mark for quick jobs. You can rub it off with a damp cloth when done. Only caveat, it doesn't hold up over the long haul. 


Monday, May 18, 2020

Recycled Style 5

It has been quite a while since I posted anything here. Been working on other projects not related to clothing or beading. But now I am caught up, and can post three projects that were all finished up within the last month. Being in Covid-19 self-isolation for almost two months gave me plenty of time to finish these projects - and I admit, it helped that for two of them I was on a deadline. LOL

All material in these clothing items were T-shirts bought at the Goodwill unless otherwise noted. Beads and embroidery thread from my stash. 

Crafters/artists/jewelry makers/sewers, etc. sometimes get teased about all the supplies we stash away for "someday." But with all the stores closed due the pandemic, having a supply of things on hand to tide me over worked out really well. 

First item is a light jacket I made for a very good friend who shares the same birthday date as mine.  The necklaces were made to wear as a pair. 

The jacket was a woman's size M T-shirt that I cut up the middle, and also took about four inches off the sleeves to make them 3/4 length instead of full. The banding is sewn on with embroidery thread in a feather stitch, then beaded using regular sewing thread. The tank top under the jacket is an old one of mine, and used to show how the jacket could be worn. I like these light jackets for summer, so when I go into a restaurant where the air-conditioning is on full blast and set at arctic temperatures I won't freeze to death. 


The second project that I finished is this beaded and stitched mandala shirt. The stencil was done on a sleeve cut from another shirt (I have dozens of these sleeves, cut from XXL mens shirts when I use the body of the shirt as flat fabric). The paint color is Coastal Waters by Americana. The beads were ones from my stash. The stenciled sleeve was backed by another cut off sleeve, then pinned to the front of the shirt. Here is the sequence.


I like the design of this mandala very much, but in retrospect think it would have been better on the back of a jacket, or on a sweatshirt, as its size seems to overwhelm the T-shirt. 

Lastly is a necklace I made as a birthday gift. 


All this productivity has left me with just one old project to finish that has been sitting sidelined for months. With things still pretty much in lockdown, although some restrictions are lifting, I have plenty of time to catch up on things and then start new projects. That's always exciting. 

Hope you are all staying safe and healthy. 

Thursday, May 23, 2019

Mandala Stenciled, Beaded, Stitched T-shirt II

This is the second mandala shirt I have done, and I really like the way they have both turned out. Here is a pictorial essay on the process, and at the end some tips to keep in mind if you would like to try this process on your own. 

All these projects are done on Goodwill T-shirts, and the stenciled appliqués are other Goodwill shirts cut up for fabric.

Picking the colors. You can see I have already stenciled the first layer.  Paint color here is Dioxazine Purple acrylic by Americana. Try to chose harmonious color combinations, as the beading adds a lot of eye-candy to the fabric and you want that to be the focus. 


Next, set up the layers on the garment T-shirt. I use large safety pins for this. Be sure to center the design, which can be a bit tricky on shirts that have been worn as many times as these. The knit has usually warped or twisted to a certain degree. Get it as close as you can. I tend to eyeball it, step back, and eyeball it again until I think it is good to go. 


Then the fun begins. The beading. I used regular sewing thread, and whatever needle will fit the beads I am using. Test the beads after the needle is threaded, as some will go over the needle, but not over the extra bulk of the thread. Keep in mind the intricacy of the design, and don't get beads that are too large or too small. I use a standard, easy-peasy back stitch for beading. Once the beading is done, I do a running stitch just to the outside of the stencil. In this case, at each point of the mandala I added a blue bead. Stitching this way keeps the material from rolling back over the beads.


In this photo you can see how the knit is rolling toward the front. I got this one on backwards so had to deal with it. Also, as in this case, it looked like the knit was going to roll the other way, and then the more I worked with it, the more it changed. Bottom line, don't sweat over it. 


Next is to unpin and trim away the top (in this case rose colored) fabric, leaving about a 1/4" margin. Be careful not to cut into your running stitches, or the fabric underneath. 
 Re-pin the bottom layer and do another running stitch around the edge, again 1/4" margin. When finished, unpin the fabric and trim away the excess, 1/4" away from the running stitches. Again, being VERY careful not to cut into the running stitches or the shirt. 


Lastly, in this design, I add a charm in the center. This can be anything from a larger bead, a button, or charm. 


At this point, you are done! And just remember, this is meant to look handmade, not like some mass-produced piece from China. Small imperfections are not the end of the world. 


Here are a few tips and suggestions for stenciling and beading on fabric.

I use shirts from the Goodwill in an effort to recycle rather than buy new. The garment industry is one of the most heavily polluting in the world. Not only do I buy the base T-shirt, but also I buy XXXL mans shirts to cut up for flat fabric. The purple on this shirt was just the sleeve from one of those large shirts. I double wash everything before using. 

Stencils can be found everywhere. There are literally hundreds to choose from. To start, pick something simple. Also, I like to leave sections of the stencil un-beaded as part of the whole design. 

Beads are sold everywhere or can be ordered online. JoAnn's and Craft Warehouse are good sources. Online, Fire Mountain Gems and Beads will overwhelm you with choices. The size of the bead should be in relation to how complicated the stencil design is. Also, if your beads are really small, you will need to use a beading needle. I use a size 13. Anything smaller makes me crazy trying to thread it. 

When setting out the layers, check to see which way the knit tends to roll, then face that toward the main shirt. With this kind of work, it isn't super important whether you use the right or wrong side of the fabric, so if the knit curls toward the right side, put that side face down. This keeps the knit, after you have washed it a few times, from rolling over the stitching. 

As for paint, I have used fabric paint, craft paint, and my regular acrylic paints...all acrylic based, so easy to clean up and fast drying. I dab them on with small makeup sponges available at any cosmetic counter. I leave the piece to dry overnight and that has worked out just fine. 
Note: I tried a thick glitter paint once. Once. It was a nightmare to get in the stencil and didn't cover very well. When the project was finished, I threw the paint away! I have used metallic paint with great success, though. Next I want to experiment with fabric spray paint!

Here are a few photos of previous projects I have done. I love beading and stitching over stencils. I was my way of solving the problem of how to get an intricate pattern design on fabric that wouldn't rub off before the beading was done. I get things laid out,  cue up Pandora, and zone out. 


 The above piece is also reverse appliqué.


Enjoy...it is as fun as it is addicting. 

If you have any questions, please feel free to comment. 


Wednesday, August 19, 2015

T-Shirt Tunic and Ratty Work Shirt Update...and Pumpkins!

In my last post I showed photos of the humongous man's T-shirt I bought at the Goodwill, laid out ready for cutting. And then one of the tunic sewn together, but with no bindings. That project is done...for now. After I wear it a few times, and decide if I really like it, I will decorate the front with something and maybe bead the binding. Right now it is pretty Plain Jane. And since I bought two of these HUGE T-shirts, if the first tunic turned out okay, I had planned on making another. The only change that needs to be made, is that the armhole is a little large, with just enough play to sometimes show my bra. Not a lot, but enough to show a peak of it  I might buy a fancy sports bra to wear under it, so if something does show, it will be pretty. Anyway, in its next incarnation, I will adjust the armhole opening.


This shows the little tuck I did in the binding for the V-neck.


This tunic is very loose-fitting, and the bottom edge hangs about four inches below crotch level, which is perfect for me. I decided not to bind the bottom because I didn't want to add any stiffness to it. The way it is, it drapes nicely, which is what I wanted.

Okay, moving on to the ratty work shirt. I salvaged this poor thing from my husband's box of work clothes.  By the time things get to that box, it means they are in such a beat up condition he can't wear them off the property. I started covering this shirt as a project I could work on between other projects. Something easy, that could go for months without being worked on, and that I wouldn't feel guilty about neglecting. The denim is torn and threadbare, but oh so soft. I wear this shirt when going back and forth to the garden to change the water. It keeps the sun off my arms and deflects the heat (it has been up to 113 here this summer). I also wear it in the morning if it is still a bit chilly out on the deck, which is where my husband and I have tea on the weekends. The spiral denim piece and the biding on the collar were the first things I added. The new section is a piece of an old flannel shirt which had gone from the work box clothes, to the "use as garage rags" box.

All of the stitching is no-muss, no-fuss. I even left the knots and ties showing on the outside, which I never do on anything else. More and more patches, appliqués, beads and charms will be added as time goes on. I hope to eventually cover the whole shirt.


Lastly are photos of the pumpkins in my garden. This is my first attempt at growing them, and I think I did pretty well! The variety is called Cinderella. Well of course, what else would it be called?


When they get heavy, I put little pads under their bottoms so they don't get bruised. I see lots of pumpkin soup, roasted pumpkin, baked pumpkin, and pumpkin pie in my future.

Hope you are all having a grand summer. Here it would be a lot better if we weren't surrounded by wildfires. Kinda hard to breath when it's 105, and visibility is down to half a mile because of the smoke. A nice summer rain storm would be a treat right now. One can only hope.


Tuesday, August 4, 2015

Sleeveless T-Shirt Tunic

For some #$^%$ reason, Blogger won't let me move this margin to the left, so has decided that I must 
keep it centered. This after having a $%^&#$ing nightmare getting photos to upload. I am not happy
will Blogger, or my computer right now. But, I battle on.

A while back I bought two enormous man's T-shirts. These babies were XXXXXL. I stashed them, not sure at the time what I would do with them. Recently I decided I wanted to make a sleeveless tunic, and that one of these giant shirts would work. I dug through my stash of old, old patterns and found one I thought would also work. It has sleeves, but I just left them off. Also, the shoulders are dropped, and I thought that might give the tunic a cap-sleeved look. Worth a try, anyway. 

I decided to use this dark gray one, so if I screwed things up, I wouldn't have used up the dark blue one, which I like better. This little project is a total experiment.


Oh, so down here, it's going back to a left-hand margin. **sigh** 

As you can see, the shirt really is huge. Here is how it looked after I cut off the sleeves, cut up the side, and across the shoulder seams, so it would lay flat. 


This is the pattern I am using.


I like V-necked shirts, so I am doing that version, which may mean I have to futz with the binding at the V part, but, I'll figure it out. 

This is the pattern laid out, and then cut out. 


Lastly, are photos of the tunic sewn up with matching grey embroidery thread, and next to it the shirt that I will cut up for the edge binding. When the tunic is done, and if I like it, and it feels good on, I will add some kind of decoration/applique to the front, and bead the binding. 


And to entertain myself while I sew the binding on, I bought a new book-on-CD to listen to. Zoo by James Patterson and Michael Ledwidge. Basically, the animals of the world start to fight back.

I have another major project that I have taken on, but I am writing about that in my horse blog. I have adopted a two year old Andalusian filly from a kill yard in Washington. It's going to be a long, fun process of getting to know her, and getting her healthy...she was 100 lbs underweight, and has a bacterial infection known as strangles. Very nasty. So if you are interested, head over to www.equine_madness.blogspot.com.


Monday, March 23, 2015

The "Save That Ratty Workshirt" Project

I was looking for an on-going project I could work on in between other things. You know, like when I only have maybe half an hour or so of dead time, but not ready to start another major project. Something I can stuff in a bag and drag along with me, or ignore for months and not feel guilty about neglecting it.

Years and years ago (back in the 70s) I did a lot of embroidery on a man's cotton work shirt. I wore it to death, and still have it. It was even featured in an "Clothing as Art" show at the Riverside Art Center and Museum, in Riverside, Ca. So I thought, why not start another shirt, only this time use up all my bits and pieces of leftover fabric, trim, beads, embroidery floss, etc to mend one of my husband's. He had a few, all given to him by pet food companies (he drives a big rig truck delivering pet food), and one of them, which had been relegated to the "wear it around the house/yard only" box, was pretty, well...ratty. I decided to rescue it and give it a new life.

This resurrection may not work. The shirt material is very worn and thin, and there are lots of frayed edges, and rips in the fabric. But the cotton is so very soft, and even if the shirt ends up totally covered, that nice cotton will still be the lining inside.

Here is what the shirt looks like. Yeah, pretty ratty.


It's obvious that the whole thing is going to have to be reinforced in some way. But, I can work on small sections of fabric adding beads or embroidery, or stenciling, then take that finished bit and sew it onto the shirt. Or I can work directly on the shirt.

This is what I have added so far. The denim patch was a piece cut from a pair of jeans, that  I was experimenting on with a bleach pen. The skull is a stamp. On the edge of the collar I sewed a leftover strip of binding from the Spring Bolero project. The little key is a cheap charm I dug out of my stash of "stuff."


I'm going to add beads to the denim patch, and I think the stitching is kinda-sorta like Japanese boro stitching, but much sloppier. This whole shirt project is meant to be a no-brainer, so I am not going to get anal over the stitching. I even left the end knots and tails on the outside, which I NEVER do on other things.

It may be years before this shirt is totally covered, or it may take only a few months before I decide the whole bloody project is a waste of time.  However, if I do manage to get the whole shirt covered, I bet it will look really awesome!