In my last post I showed photos of the humongous man's T-shirt I bought at the Goodwill, laid out ready for cutting. And then one of the tunic sewn together, but with no bindings. That project is done...for now. After I wear it a few times, and decide if I really like it, I will decorate the front with something and maybe bead the binding. Right now it is pretty Plain Jane. And since I bought two of these HUGE T-shirts, if the first tunic turned out okay, I had planned on making another. The only change that needs to be made, is that the armhole is a little large, with just enough play to sometimes show my bra. Not a lot, but enough to show a peak of it I might buy a fancy sports bra to wear under it, so if something does show, it will be pretty. Anyway, in its next incarnation, I will adjust the armhole opening.
This shows the little tuck I did in the binding for the V-neck.
This tunic is very loose-fitting, and the bottom edge hangs about four inches below crotch level, which is perfect for me. I decided not to bind the bottom because I didn't want to add any stiffness to it. The way it is, it drapes nicely, which is what I wanted.
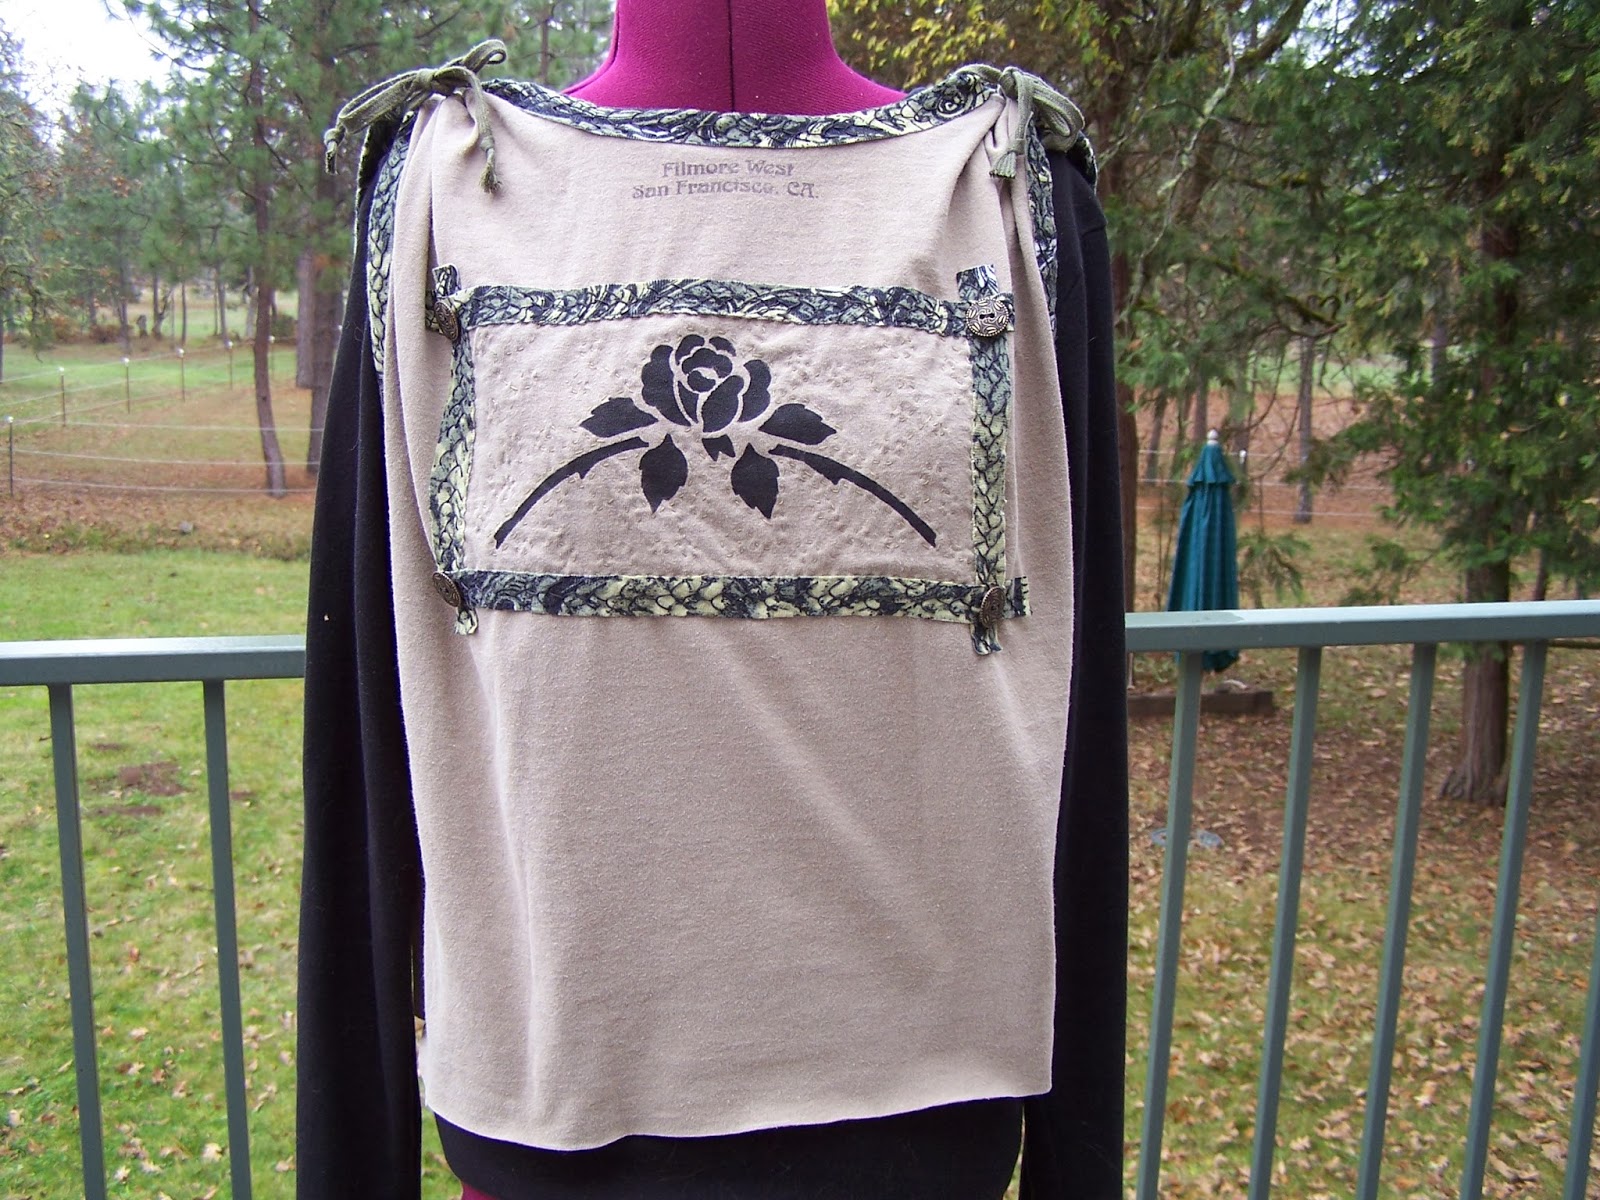
Okay, moving on to the ratty work shirt. I salvaged this poor thing from my husband's box of work clothes. By the time things get to that box, it means they are in such a beat up condition he can't wear them off the property. I started covering this shirt as a project I could work on between other projects. Something easy, that could go for months without being worked on, and that I wouldn't feel guilty about neglecting. The denim is torn and threadbare, but oh so soft. I wear this shirt when going back and forth to the garden to change the water. It keeps the sun off my arms and deflects the heat (it has been up to 113 here this summer). I also wear it in the morning if it is still a bit chilly out on the deck, which is where my husband and I have tea on the weekends. The spiral denim piece and the biding on the collar were the first things I added. The new section is a piece of an old flannel shirt which had gone from the work box clothes, to the "use as garage rags" box.
All of the stitching is no-muss, no-fuss. I even left the knots and ties showing on the outside, which I never do on anything else. More and more patches, appliqués, beads and charms will be added as time goes on. I hope to eventually cover the whole shirt.
Lastly are photos of the pumpkins in my garden. This is my first attempt at growing them, and I think I did pretty well! The variety is called Cinderella. Well of course, what else would it be called?
When they get heavy, I put little pads under their bottoms so they don't get bruised. I see lots of pumpkin soup, roasted pumpkin, baked pumpkin, and pumpkin pie in my future.
Hope you are all having a grand summer. Here it would be a lot better if we weren't surrounded by wildfires. Kinda hard to breath when it's 105, and visibility is down to half a mile because of the smoke. A nice summer rain storm would be a treat right now. One can only hope.

"To live in the world without becoming aware of the meaning of the world is like wandering about in a great library without touching the books.".....The Secret Teachings of All Ages
"Neither aesthetics nor money-spent make a good studio-it's what you make inside it that really counts"...Shanna Van Maurice, artist.
Showing posts with label upcycled T-shirts. Show all posts
Wednesday, August 19, 2015
Tuesday, August 4, 2015
Sleeveless T-Shirt Tunic
For some #$^%$ reason, Blogger won't let me move this margin to the left, so has decided that I must
keep it centered. This after having a $%^&#$ing nightmare getting photos to upload. I am not happy
will Blogger, or my computer right now. But, I battle on.
A while back I bought two enormous man's T-shirts. These babies were XXXXXL. I stashed them, not sure at the time what I would do with them. Recently I decided I wanted to make a sleeveless tunic, and that one of these giant shirts would work. I dug through my stash of old, old patterns and found one I thought would also work. It has sleeves, but I just left them off. Also, the shoulders are dropped, and I thought that might give the tunic a cap-sleeved look. Worth a try, anyway.
I decided to use this dark gray one, so if I screwed things up, I wouldn't have used up the dark blue one, which I like better. This little project is a total experiment.
Oh, so down here, it's going back to a left-hand margin. **sigh**
As you can see, the shirt really is huge. Here is how it looked after I cut off the sleeves, cut up the side, and across the shoulder seams, so it would lay flat.
This is the pattern I am using.
I like V-necked shirts, so I am doing that version, which may mean I have to futz with the binding at the V part, but, I'll figure it out.
This is the pattern laid out, and then cut out.
Lastly, are photos of the tunic sewn up with matching grey embroidery thread, and next to it the shirt that I will cut up for the edge binding. When the tunic is done, and if I like it, and it feels good on, I will add some kind of decoration/applique to the front, and bead the binding.
And to entertain myself while I sew the binding on, I bought a new book-on-CD to listen to. Zoo by James Patterson and Michael Ledwidge. Basically, the animals of the world start to fight back.
I have another major project that I have taken on, but I am writing about that in my horse blog. I have adopted a two year old Andalusian filly from a kill yard in Washington. It's going to be a long, fun process of getting to know her, and getting her healthy...she was 100 lbs underweight, and has a bacterial infection known as strangles. Very nasty. So if you are interested, head over to www.equine_madness.blogspot.com.
Labels:
embroidery,
Goodwill,
Sleeveless tunic,
stitching,
upcycled T-shirts
Tuesday, March 3, 2015
Goodwill Finds and the Spring Bolero
A few days ago I did a troll through the Goodwill, after dropping off three boxes of "stuff." I came home with quite a few nice finds = two ENORMOUS XXXXL man's T-shirts that I think I could get whole outfits out of, a faux silk kimono-type top made in India that already has some beading on it, and two woman's extra large T-shirts in a happy Spring green, with tiny sprigs of leaves in white. Now, normally, I would avoid anything with white like the plague, but this was a small pattern, and looked so cheerful, that I caved and bought it anyway.
The faux silk top, which has big, square sleeves...well, like a kimono...I am going to cut up the center and make into a kimono jacket. The beading on the fabric is sewn on pretty sloppy, but looks nice, so I will leave it and probably add more, and then replace the sloppy beads that will no doubt fall off as I wear it.
Not sure what I will do with the two huge man's T-shirts, but the possibilities are endless. They are nice, Fruit of the Loom brand, so the cotton has a good weight. The colors are dark navy blue, and charcoal grey. Yeah, the colors are kinda blah, but I can add stenciling, embroidery, beading, and appliques to whatever I make out of them, to jazz things up.
I will have photos of these pieces up later. Mainly because I got all ready to post this stuff, thought I had photoed all of it, only to discover I only had photos of the Spring bolero shirts. My bad.
Anyway, here is my progress on the Spring Bolero. Even though the two women's shirts were size XXL, and wide, I wasn't sure I would have enough fabric to do the binding, so the rich, chocolate brown was going to be my backup binding color. It looked really nice against the bright green. However, as it turned out, I had enough shirt fabric left over to do the binding if I did solid color on pattern, and the reverse on the sleeves.
The first two photos were taken on my dinning room table, and the lighting there makes the green look olive, and the brown look maroon. They are not. The rest of the photos were taken on my work table out in the garage, where the lighting is brighter, and the colors show up better.
The beads and embroidery thread were some I pulled from my stash.
And here is where I am so far. Still have to add the rest of the binding, then bead it. I may add beads to the body of the bolero, but haven't decided yet.
This makes bolero number five. I love these guys, and wear them a lot. I also love that they are easy to make, and lend themselves to all kinds of decorations. And they are the item I get most asked, "Do you make them to sell?" My answer is always, "No." They might be easy, but depending on how crazy I get with them, they are time-consuming. Besides, making them to sell would take all the fun out of it, and that's the biggy for me. I do them for fun.
Labels:
embroidery,
Goodwill finds,
Spring Bolero,
upcycled T-shirts
Monday, November 11, 2013
Filmore West Top—Complete
If there is one thing this project taught me, it was patience, 'cause things kinda went wonky as the work proceeded. Biggest frustration was sewing on the narrow banding that frames the black rose panel. Those long strips of knit fabric, despite being pinned to the fabric every inch(which caused another nightmare, as the thread was always getting hung up on the pins as I worked), walked, skooched, wriggled, and worm-crawled with every stitch. Then, after they were all finally locked down (I gave up trying to make them ruler-straight), the panel fabric started to pull loose and curl out from underneath the framing strips. First I tried doing a small running stitch around the inside edge of framing strips, trying to stabilise the panel fabric underneath. That helped...sorta...but didn't solve the problem. So, I added a running stitch all around the edge of the panel fabric. Again, it helped, but the problem never got totally solved. I suspect the first time I wash this, the two pieces will pull slightly apart and show the raw edges. At this point, I don't care. I decided it could just be part of plan...yeah...plan...at least, that's my story and I'm sticking to it.
Center panel partly top-stitched, and the framing strips pinned in place.
This was also one of those projects where the original design idea got changed as I went along. Pretty much each time I tried the top on I tweaked something. The last change I made was to cut off about five inches from the bottom, rather than gather up the sides, as I had planned. That was another situation where, standing in front of a full-length mirror and playing around with the shirt while on, made me decide it looked way better shorter, than just gathered. Whack...off with the five inches.
What would I do differently? For one thing, I would iron the center panel and framing strips onto Heat and Bond to stabilise them, iron them onto the shirt, then do the top stitching. It would solve that whole curling, walking, and pulling away problem and make my life much easier for next time. Also, in looking at the stitching around the rose, which I did in free-form swirl patterns trying to match the swirls in the binding material, instead I think I would just do the running stitches to echo the outline of the rose. As it is now, you can't really see the swirl pattern. It just looks like random quilting stitches that don't make any sense. Lastly I would make the shoulders narrower, so there would be less fabric bunched up under the ties.
Purposely, there are no beads or sequins on this top. Just the four buttons, which I found while looking for something else in my button stash, and thought they would work well with this. I wanted this top to be different in look and feel from the other altered tops I have done. Less glitz, more hardcore. For whatever reason, I think it has a vaguely military aura about it. Maybe it's the colors, and the fact that the swirl pattern looks a bit like camo? Not sure, but I'm okay with it. In fact, I like it a lot.
Here is the finished top on Inara. Under it is a plain black long-sleeved T-shirt, which is how I will wear it during the winter. With tank tops under it during the summer.
Materials list: Two mans T-shirts from the Goodwill, one rose stencil from the Goodwill, knit tie cord from an old hoodie, four buttons from my stash, button/craft thread, regular all-purpose thread.
Tuesday, November 5, 2013
Filmore West Top
I found this T-shirt with the "Filmore West " name on the back, and I assume what was a fairly Hippy-esque design on the front but was so faded I wasn't sure. My first thought was, could this T-shirt actually have survived in someones attic since the 60s-70s? Probably not, but the idea was intriguing. Anyway, when I saw it, hanging in the forlorn ranks of other cast off shirts at the Goodwill, I had a flashback to my own Hippy days—painted clothes, painted face, lots of beads, freakout dances with giant pulsing blobs projected on the walls—you know, all the fun stuff. At the time, I never made it to San Francisco or the Filmore where all the hot bands played, and by the time I graduated from High School it was being touted that the age of the Flower Child was already dead. But still, I found this silly T-shirt that brought back a lot of silly, and I'll be honest also scary, memories. For $2.00 I bought it, with no clue what I was going to do with it.
Then, not long ago, I came across another Goodwill shirt with a swirly design that I liked. It was also only about $2.99, so I bought that one.
Add to this progression the fact that I recently caved and started a Pinterest page, with lots of boards full of ideas, and we get to this current project, which is a bit different from the things I have done so far.
Here are the two shirts I am using. First decision I made was to ignore the design on the front of the Filmore shirt and make the back of the shirt the front. I have already cut the sleeves off the Filmore shirt.
I put the Filmore shirt on Inara (my dress form) and started playing around with draping, which I had never done before. At one point I basted in tucks around the waist and put pleats across the shoulder seams, but when I tried it on, I didn't like the way the shirt hung and knew if I kept it that way, I would never wear it. So, I ripped out all the basting and tried just tying the shoulder seems to get the drape. That worked a lot better. With that idea in mind, after cutting the neckline a bit lower, I cut binding from the patterned shirt and sewed that to the neck and armholes of the Filmore shirt. Instead of using embroidery thread to sew on the binding, I used doubled button/craft thread, which I actually liked working with better than the embroidery thread. Unfortunately, it comes in a limited choice of colors. I used the button thread because it's not as bulky, and I didn't want the stitching to obliterate or distract from the pattern on the shirt. As it turned out, from only a short distance, the thread disappears.
The front of the shirt was going to need some sort of design, but I didn't have anything that really look "Hippy" and in any case, I didn't want to go that way. I wanted something more urban, rock, or punk rather than Hippy or "crafty." I wanted edgy. Which made me remember the stencil of a rose I also bought at the Goodwill, for only a dollar.
On one of the cutoff sleeves I stenciled the rose, in black. The rose will be cut out in a rectangle (you can just see the lines drawn with soap on the material), and then bordered with the patterned shirt material. The whole piece will be appliqued onto the front of the Filmore shirt.
After I got all the binding sewn on, I tied up the shoulder seams with a piece of cord I found in my stash of stuff, in a color that worked, and tried the shirt on again. I liked it, and knew the applique of the rose would work great. While I was still standing in front of the mirror, I hiked up the sides in preparation for taking the shirt off, and stopped. I really liked the way the shirt draped when I pulled up the sides just a bit. That will be the last thing I do to finished the top. This is meant to be layered over other shirts, as the armholes are a bit big and would show my bra if I wore it alone. Which is fine, because I originally wanted it to be something I could layer.
So, that's the Filmore West Top—so far. This should go together pretty fast, and since the weather is rainy and cold, I'll have lots of time to work on it.
Subscribe to:
Posts (Atom)