If there is one thing this project taught me, it was patience, 'cause things kinda went wonky as the work proceeded. Biggest frustration was sewing on the narrow banding that frames the black rose panel. Those long strips of knit fabric, despite being pinned to the fabric every inch(which caused another nightmare, as the thread was always getting hung up on the pins as I worked), walked, skooched, wriggled, and worm-crawled with every stitch. Then, after they were all finally locked down (I gave up trying to make them ruler-straight), the panel fabric started to pull loose and curl out from underneath the framing strips. First I tried doing a small running stitch around the inside edge of framing strips, trying to stabilise the panel fabric underneath. That helped...sorta...but didn't solve the problem. So, I added a running stitch all around the edge of the panel fabric. Again, it helped, but the problem never got totally solved. I suspect the first time I wash this, the two pieces will pull slightly apart and show the raw edges. At this point, I don't care. I decided it could just be part of plan...yeah...plan...at least, that's my story and I'm sticking to it.

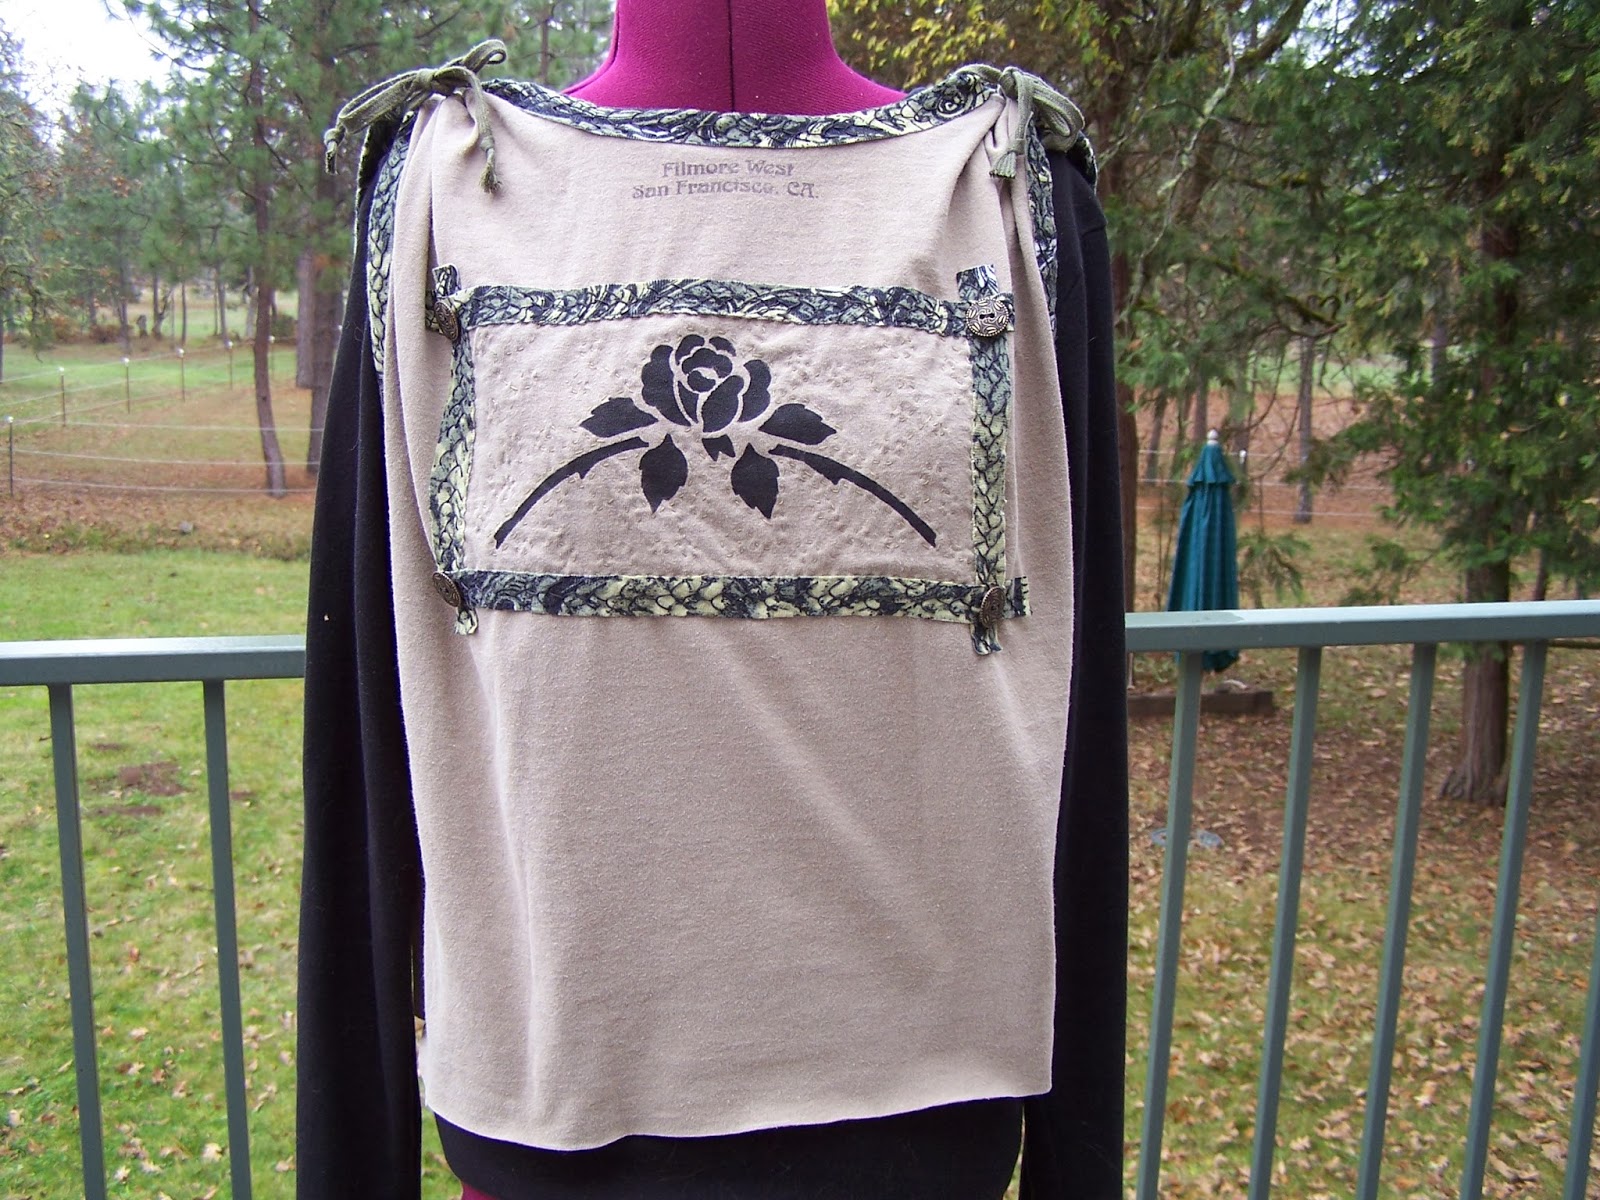
Center panel partly top-stitched, and the framing strips pinned in place.
This was also one of those projects where the original design idea got changed as I went along. Pretty much each time I tried the top on I tweaked something. The last change I made was to cut off about five inches from the bottom, rather than gather up the sides, as I had planned. That was another situation where, standing in front of a full-length mirror and playing around with the shirt while on, made me decide it looked way better shorter, than just gathered. Whack...off with the five inches.
What would I do differently? For one thing, I would iron the center panel and framing strips onto Heat and Bond to stabilise them, iron them onto the shirt,
then do the top stitching. It would solve that whole curling, walking, and pulling away problem and make my life much easier for next time. Also, in looking at the stitching around the rose, which I did in free-form swirl patterns trying to match the swirls in the binding material, instead I think I would just do the running stitches to echo the outline of the rose. As it is now, you can't really see the swirl pattern. It just looks like random quilting stitches that don't make any sense. Lastly I would make the shoulders narrower, so there would be less fabric bunched up under the ties.
Purposely, there are no beads or sequins on this top. Just the four buttons, which I found while looking for something else in my button stash, and thought they would work well with this. I wanted this top to be different in look and feel from the other altered tops I have done. Less glitz, more hardcore. For whatever reason, I think it has a vaguely military aura about it. Maybe it's the colors, and the fact that the swirl pattern looks a bit like camo? Not sure, but I'm okay with it. In fact, I like it a lot.
Here is the finished top on Inara. Under it is a plain black long-sleeved T-shirt, which is how I will wear it during the winter. With tank tops under it during the summer.
Materials list: Two mans T-shirts from the Goodwill, one rose stencil from the Goodwill, knit tie cord from an old hoodie, four buttons from my stash, button/craft thread, regular all-purpose thread.