"To live in the world without becoming aware of the meaning of the world is like wandering about in a great library without touching the books.".....The Secret Teachings of All Ages

"Neither aesthetics nor money-spent make a good studio-it's what you make inside it that really counts"...Shanna Van Maurice, artist.


Showing posts with label upcycled. Show all posts

Tuesday, July 9, 2024

Butterfly on Bone Vest - Final

 The vest is done, and turned out very nice! Although I have to admit, were it not for my rubber nosed pliers, I could never have gotten a needle through that heavy denim. 

I did not try free sewing on this project. Just didn't feel comfortable with it, and after playing around on small sample pieces, it became obvious that this was going to be a learning experience. So, all the stitching on the vest I did by hand.

The bones are outlined in black thread, as are the butterflies. I put Fray Check around the edges of the butterflies, even though they were ironed on with Heat and Bond. The fabric was thin, and was going to fray pretty easily. Also, I put Fray Check at the ends of the braid trim to keep it from unraveling. The trim and buttons came from my stash. 

I have worn the vest once, and the only feature that bugs me is the collar. It rubs on my neck, so I may end up cutting it off. 


Wednesday, June 10, 2015

Finished Sewing Projects, A New Painting Started, and Garden Photos

This is pretty much a "catch up" post. So I'll dive right in.

First photos are of the finished riding jerkin that I made for my husband. This is for our medieval horse gaming events, but it is nice enough to wear to SCA non-horse events as well. He hadn't had a new costume in, oh, about 30+ years so I figured he was due.

The material was given to me by a friend, and is a deep maroon, heavy damask with a leaf design. I lined the piece with brown linen from my stash of fabrics. The trim looks kinda pinkish in the photos, but isn't. It does have a lot of gold metallic threads, however. The nice clasps are from JoAnn's Craft store. Oh, and the pattern was a modified Simplicity 4059. It turned out so nice, and was so easy to make, I plan on making him another one.

Apologies for the O-ring shadows. I had to hang this from my antique French iron plant holder, and didn't, I admit, realize they were in the photos until I uploaded them onto my computer. My bad. Also, once these costumes are done, I never iron them again. He wore this one last month, which is why it's a tad wrinkly.


The next one to be finished was one I started last winter, got partly done, set it aside, then pulled it out and wore it, which made me decide I really needed to finish it.

Lately I have become sorta obsessed with bohemian kimonos (I have a whole Pinterest board dedicated to them), so when I found this light rayon blouse at the Goodwill, I fell in love with the pattern, the fact that it already had gold beads on it, and that it was all floaty and light (read that as baggy and floppy). I bought it for $3.99, even though it was an extra large. I just thought it would make a great shortish kimono/jacket. I cut it up the front, secured some of the beads that were coming off...they are still coming off and I try and catch them before I lose them...and wore it like that. But it needed something along the hemline. On Pinterest I saw examples of kimonos hemmed in fringe (my favorite), lace, beads, or left plain. I couldn't find any fringe, lace was WAY too expensive, so I opted for beads, since I already had ones that would work. The other day I sewed beads all along the hem. It worked out perfectly, and added just enough weight to the piece to make it hang nicely. And it adds that lovely clickity-click that beads make when they come in contact with, oh, chair backs, tables, etc. The only thing I haven't decided on is whether to shorten the sleeves. They hang below my wrists, which usually bugs the crap out of me, but as I was walking through the freezer section of the grocery store the other day, with this kimono over just a tank top, I was grateful to have those longer sleeves, otherwise I would have ended up with frostbite. So they may stay...for a while. After I make that decision, I will add beads to the hem of the sleeves. Also, it needs some kind of clasp for the top front. Not because I would ever wear it closed, but because it is so light and wonky, it falls of the hanger without being secured. Currently it is held in place with a clothespin. In the photos, I held it with a sewing pin, then took it out for the last shot, so you could see how it hangs, and how I wear it. It looked smashing with a black tank top and jeans.


Next in line is the preliminary drawing for another painting. This is number three in the Gypsy series, titled Soul Mates. Before I can ink this, and start the painting, I need to head to the art supply store and buy new ink pens and better brushes. Working on that first painting, with old supplies, some over 35 years old, was not fun.


Lastly are some misc. garden/deck photos I took about a week ago...before the temps hit 107, and a thunder storm came through and trashed a lot of the blooms. Look closely! Some of the blossoms have little guards posted!


This deck is where we spend a lot of time relaxing.


One last photo of the deck at dusk, fairy lights on, and Robert having his evening beer.


That's it, folks. Hope you are all enjoying your summer...or winter...depending on which side of the equator you're on.

Wednesday, March 11, 2015

Spring Bolero finished & Next Projects

The Spring Bolero turned out quite nice. It is bolero number five in my growing collection. I did a ballpark calculation as to how many hours it took for me to bead the binding, and figured around five, give or take. It is very relaxing for me, as I listen to books on tape as I sew/bead. But the hours it takes to bead one just reinforces the notion that trying to  make them to sell would be a waste of my time and energy. Besides, as stated before, I do these for fun, and because I like wearing them.

Spring Bolero = Made from two Goodwill find women's knit shirts, and beads and embroidery thread from my own stash.


My next project is to turn this large, faux-silk (Rayon) beaded top into a kimono jacket. There are already gold bugle beads sew on it, very badly, and many are coming off. I will secure the loose ones, and probably add more. The idea is to cut it up the front, then add some kind of fringe/lace/trim to the bottom edge and to the ends of the sleeves, to make them hang nicely. This thing is kinda warped from, I suspect, lots of washing and is very baggy, but I liked the boho design and the slouchy feel of it, and thought, once the remodel is done, it would look great with a black tank top and jeans. For a mere $2.99 from the Goodwill, if it fails, I'm not out much.


Lastly are the gigantic man's t-shirts I got, again, from the Goodwill. I got two, one this dark blue, and the other is charcoal gray, for $2.99 each. They are Fruit of the Loom brand, and the cotton is a good weight, so I couldn't resist, even though the colors aren't very snazzy. I can fix that with embellishments. But wow, can't imagine the size some poor guy would have had to be for these babies to fit. However, it makes lots of material for me to play with. I just hope these shirts ended up in the Goodwill because whoever owned them lost all that weight and didn't need them anymore.


That's my lineup so far. Not sure what I will do with the two HUGE shirts, but a tunic might be one choice. I have a pattern for a simple one, if that's what I decide. Also, I recently bought a new stash of stencils, and these shirts are big blank canvasses begging for decoration. With that much fabric to play with, the possibilities are endless.

So that's me, making a happy wardrobe, one upcycled piece at a time.

Thursday, October 30, 2014

Ongoing and Future Projects, Plus the Finished Scarab Necklace

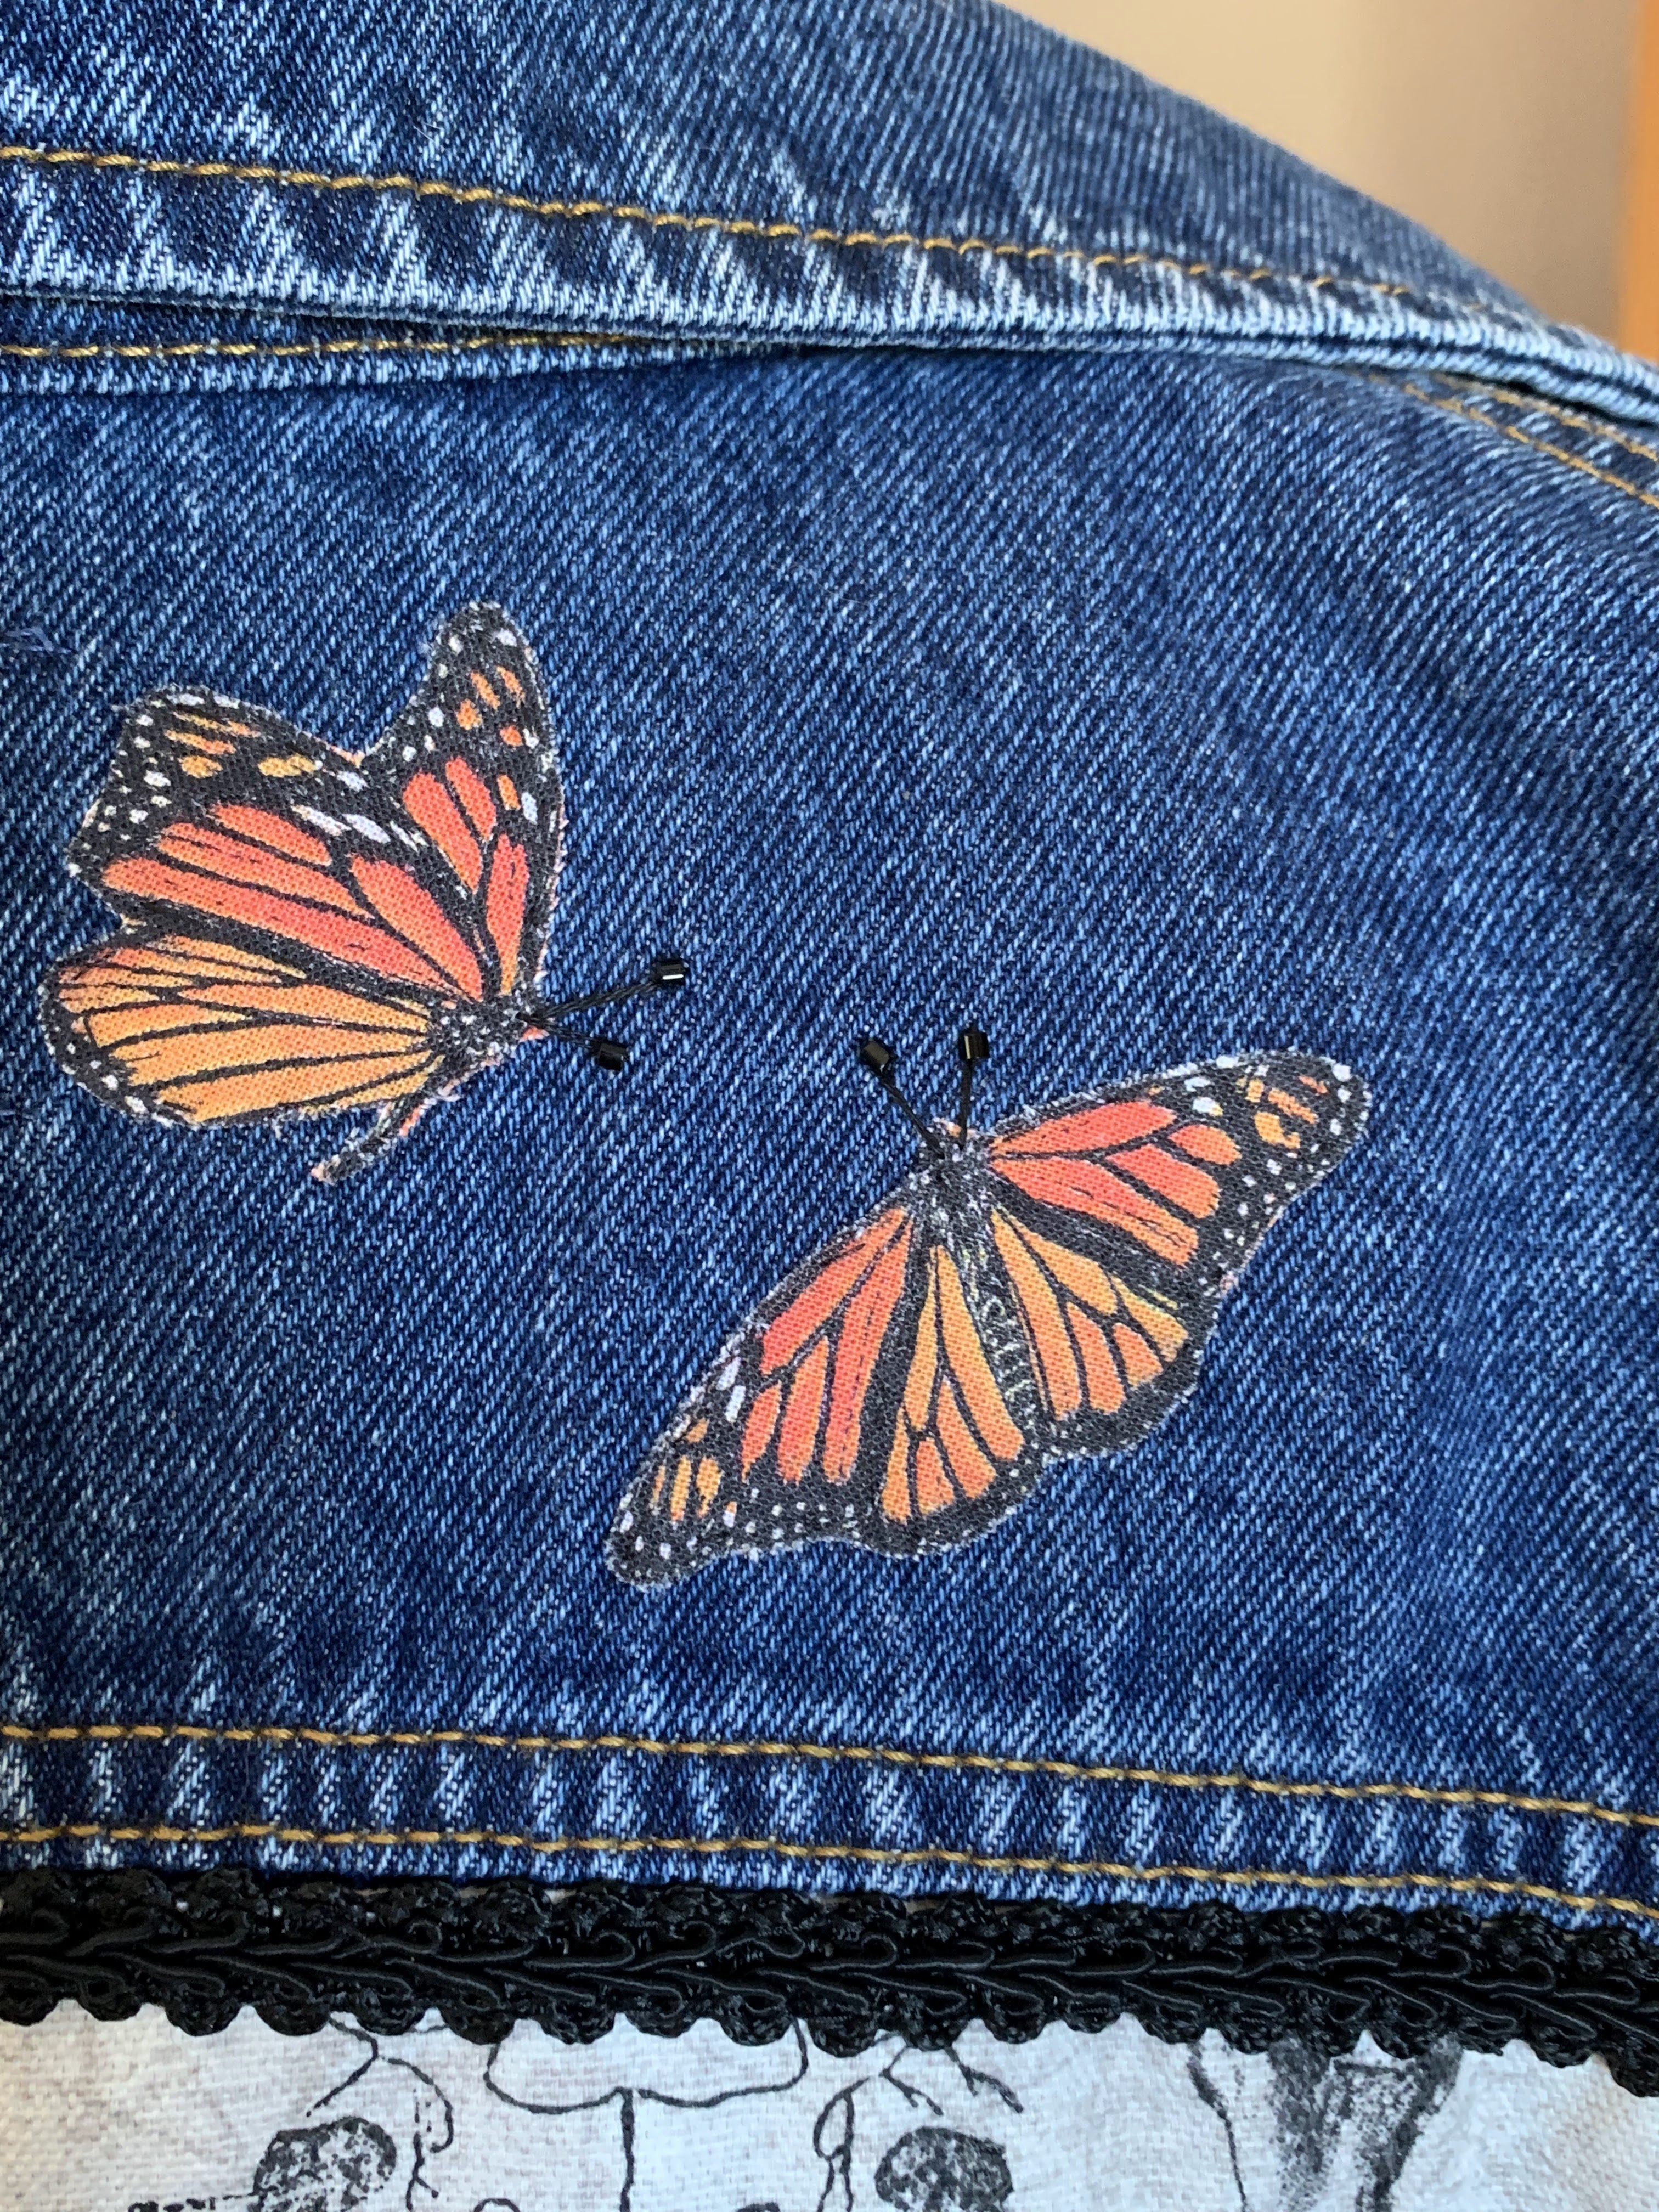
There is a project I really want to start which involves embroidery and beading on a Goodwill find jacket. The problem is, the design is complicated, and the jacket is dark purple Ultrasuede. Tying to transfer a labor-intensive Elizabethan design onto the said dark fabric, which has a nap, is something I still haven't quite figured out. I will, eventually, but for now, I am playing with this stenciled design for a sweatshirt.

I bought the midnight-blue sweatshirt at the Goodwill for $3.99. It is a nice heavy one, and in very good shape. A lovely blank canvas. The rose T-shirt was one I bought at the Gap years ago. It was faded a bit and the neckline had gone all funky. But, the rose-pink was on the blue side of pink, not the red site, so it was a perfect for the dark blue sweatshirt. I don' remember where I bought the stencil. It could have been at Home Depot in the paint department, JoAnn's, or Micheal's. The paint is an old pot of Lumier pearl blue, but was so old that it had almost turned to paste. I added water, stirred it like crazy, added more water, stirred like crazy, repeat...until I got it usable. Barely. However, because it was so old, the "pearl" effect on the knit is patchy. I ran into the same issue when I used some old gold Lumier on the Crown Bolero. But, I like the effect. It gives the stencil design a bit of texture.

So, here is how it went.

The rose Gap T-shirt cut in half, with the stencil painted on. The white lines are made with soap.


The top photo is truer to the color of the shirt. The second photo makes it look a yucky peach, which it is not. But you can really see the patchy effect of the paint.


The stencil pinned to the sweatshirt.  The top two photos of the shirt were taken in my garage, where my work table is, and where the light is better. The bottom one was taken in my dinning room, where my sewing machine is set up. The light isn't as good, but the colors photo truer. I also noticed that the design is a tad off center, so I will have to adjust a tad and re-pin it.

I will stitch around the pattern, then trim away the pink material from the edge, so the finished design won't be square, but rounded like the stencil. After that, I will add accent stitches around the whole thing. I had originally intended to make this a reverse applique by cutting out the larger parts of the design so the dark sweatshirt would show through, but changed my mind. Mainly because with the blue paint, I didn't think the reverse applique would show up very much. I'll just go crazy with beading inside those shapes instead.

So, that's the project that is going to keep me busy while I try and figure out how to deal with the purple jacket.

Along with getting this sweatshirt thing going, I finished the Scarab Necklace. Again, lousy photo, taken in my garage with the best lighting I can get at the moment (outside it is dark and raining). The scarab was part of a broken necklace in a  box of jumbled, broken stuff I bought at least a year ago. I really liked him, but wasn't sure what I wanted to do with him, so he has been sitting in my stash for all this time, waiting for me to make up my mind. While looking for something else I came across  him again, took him out, set him on my work table, and contemplated him for a few days. Well, I thought, he's got this Egyptian vibe going, so let's play with that, without going all Cleopatra.

The necklace is made of all kinds of bits and pieces...rock chips, coral chips, black glass beads, turquoise chips, red crystals, and frosted glass blossoms. The large copper jump rings were in a tube of copper rings meant for either electrical work or plumbing. I don't know which, as my husband found them somewhere and brought them home for me. I also wanted to play with the contrast of "silver" wire and the copper. The thin copper wire was a pain in the butt to work with, but if I did two layers of wrapping, it looked really kewl.

The necklace is choker length, which tends to be my favorite. I am going to try and get much better photos of this piece, as you really can't see the lovely colors very well in these.  But it does give you an idea of how it came out.


So, that's what's in the works, and that's what just got finished. Another project lurking at the back of my brain involves a pattern for a short kimono I bought back in the 70s. I made one back then and wore it out. I am thinking of making it again, out of linen, and doing a jellyfish applique/beading/stitching design on the back. Pinterest has some amazing photos of jellyfish, that got me all fired up to try that kind of design. Also, I happen to love jellyfish, and could stand for hours, totally hypnotized, in front of the jelly tanks at the Newport, OR Aquarium. Actually, Robert has had to drag me away from them on several occasions, I got so mesmerized.

Anyway, that's what I have in store for the winter...well, except for the make-your-own-rubber stamp kit I want to order from Amazon, and the jelly printing I want to try (which has nothing to do with jellyfish, thank goodness), and the SCA costumes I want to make for both  Robert and myself, and working in my art journals, and doing more drawings, and...and...well, you get the idea.


Wednesday, March 26, 2014

Webs and Beads

This is an update on two projects I am currently working on. Actually, the lace shrug is done, but the spiderweb vest will take a lot more time. I am having a ton of fun doing it, though, and even my husband was impressed enough yesterday to remark on how how much he liked it. It has been raining for two days, so in between house and barn chores, I have had lots of time to work on this, and it has been a great way to use up bead odds and ends left over from other projects. Still looking for the perfect spider to put in the middle when the web is finished, but I know I'll find one eventually.


So far I have used pearls and beads of various colors and sizes. What is hard to see in my photos (again, taken indoors on a dark and rainy day — and yeah, I need a way to fix that problem, I know), is that I have started sewing tiny, sparkly white rocailles in the spokes of the web, and on some of the ladder threads. I tried very hard to get them to show up in my spotlight, but wasn't very successful. The web is made of embroidery thread — two strands doubled for the thickest spokes, two strands single for the next size down, and regular quilting thread, doubled, for the finest. At this point, it is all done in backstitch. Even the beads are sewn in with backstitch.

I have lots more work to do on this, and lots more beads and things I want to add, so it looks like leaves and maybe flower petals have gotten caught in the web.  I am also going to add bugs tangled in it. Like I said, I am having a lot of fun with this vest, and keeping a sense of humor over the design. I am also getting a lot of listening in on my collection of books-on-tape and CDs. Mostly classic murder mysteries by Ngiao Marsh, Georgette Heyer, Ellis Peters, and Elizabeth Peters with a bit of James Lee Burke thrown in for atmosphere. Love his books. 

These last two photos are of the fine line of beading I did around the edge of the lace shrug I dyed with avocado dye. It is really hard to see, and is only a single line of beading, but it adds just a bit of weight, and sparkle when the light hits it just right. This project is done, as the lace is old and fairly fragile, and wouldn't take the weight of adding beads to the body of the piece. But I liked the way it turned out, and enjoyed the dying process with the avocado skins, so will try that again on something sturdier.


 The line of beads ( in case you really can't find it) is where the lace trim and the old lace tablecloth meet. Two purple beads to one rose pink bead sewn on with doubled quilting thread. In these photos the shrug looks almost peach colored, but in real life is a soft, antique rose pink.

That's the latest....hope you all are having a lovely Spring.


Thursday, January 9, 2014

Finish One, Start Another

Finish One

The finished project was the linen underdress for my SCA Spanish surcoate. The surcoate was one I made back in the mid-80s. I used to wear it with a white shirt and skirt. The shirt has since fallen apart, and the skirt is way too small in the waist. It is also black, and gathered. To undo all those gathers and try and mess with black thread on black cloth...well, let's just say I decided to make a proper linen underdress instead, which is what the garment would have originally been worn with anyway. One I could also wear with other costumes I already have, or ones I might make in future. Other than the cost of linen putting me into a major case of sticker shock, the project went quite well. Luckily, I had a 50% off coupon from JoAnn's Fabrics, so the cost was not as bad as it might have been, but yikes!

Here is the finished underdress. The only decoration is pearls sewn around the sleeve binding. Oh, and just one of the many things I love about linen is the way it drapes so beautifully.


This is the costume as it was worn, with the headpiece.


Start of Another

The new project is one I posted about back in September. Robert had picked up a long denim dress to use for a dummy he was making for a mounted archery event we were putting on in October. The dress didn't work for the dummy. At first, since it was a petite and too tight across the shoulders for me to wear, I was going to donate it back to the Goodwill, from where it came. But then I decided that if I cut the sleeves off, it would fit okay. So that's what I did, and I also cut off the collar. I left the edges raw, since I wanted them to fray. At that stage I put it on the back burner while we dealt with the mounted archery event, and then I moved on to the linen underdress.  Today I pulled the duster back out from hiding, and started playing around with it.

First thing I knew I would have to do, is take in the waist and sides. It was basically a sack, and I don't do sacks (why work to keep a nice trim waist, and then hide it under sacky clothes?). So, I put it, inside out, on Inara, and started pinning darts up the center back and taking in fabric at the side seams. This involved lots of pinning, trying on, re-pinning, and trying on again. I am no tailor, so this darting and fussing is new to me. It became clear that if I didn't also take up a lot of slop at the sides under each armhole, the darting in the back wouldn't really take in enough excess fabric to give me the look I wanted. So after a lot of pinning, adjusting, basting, and finally sewing it all down, this is what I got.

This is before I removed the basting stitches (in off-white thread), cut away the excess fabric, and ironed it all. You can see that I really had to cut a lot of fabric away from under each arm, then taper the seam back into the existing side seam.


Then I sewed everything down, trimed out the excess fabric, and ironed the piece (and apparently didn't take a photo of that stage). Next was to mark the split up the back with soap.


I sewed a 1/4 inch seam on either side of the soap mark, squaring off the end. Then I...gasp...cut up the back, following the soap mark.


This is where things got left today. Next step is to stencil a design up the front, along the hem, and up the split in the back, with black fabric paint. I haven't found the right stencil yet, but am thinking of something vine-like. Last step will be to put in a black linen gore in the back where the split is, giving the duster some flair and a slight bustle effect. I will probably add jet and blue beads to the stencils, and small bits of black lace as reinforcement where the center dart ends above the split. I am also thinking of cutting off the hem of the duster, sewing around the edge with black thread, and letting the hem ravel like the neck and armholes. Yeah, I think I will do that.

I mentioned before, when I first posted photos of this duster, that if I got really insane, I would replace the buttons, but the buttons go all the way down the front. Replacing them would probably make me crazier than I already am...and yet. We'll see, when the piece is all done.